Instagram Reels Dimensions & Aspect Ratio in 2026
Why do your Reels get cropped, zoomed, or blurry even in 9:16? I’ll show the exact Reel sizes, safe zones, and export presets so every upload fits perfectly. The Zeely team built this using platform docs, product updates, and tests from creators scaling Reels.
Reels dimensions & aspect ratio for best quality are 1080 × 1920 px at 9:16, they must be vertical full-screen. Design with a safe zone so captions, buttons, and your own subtitles don’t cover key text. Your cover should also be built in 9:16, but expect profile grid previews to crop tighter because Instagram moved to rectangular grids. Export in MP4, 30 FPS, and a high bitrate to reduce upload blur.
Instagram shows the same Reel in multiple placements, and each one crops differently. That’s why the video at 9:16 still isn’t enough. This guide gives you a single spec system: dimensions, safe zones, covers, exports, and resizing steps you can repeat every time. I’ll also include quick templates for Canva, Premiere, CapCut, and Final Cut.
The exact spec table for Instagram Reels dimensions 2026
Here are the reels dimensions and aspect ratio specs I use as my default checker before I publish my Instagram reels ads. If your file matches this table, you’re starting from correct. Instagram can still crop previews, but the master stays clean.
Reels spec table
| Item | Best practice | Notes |
| Dimensions | 1080 × 1920 px | Full-screen vertical |
| Aspect ratio | 9:16 | The native Reel shape |
| Resolution | 1080p vertical | Keep it sharp, not oversized |
| Formats | MP4, MOV | MP4 is the safest default |
| Max file size | Varies by upload method | Keep exports efficient |
| FPS | 30 FPS (default), 60 FPS (optional) | 30 is the safest upload path |
Copy/paste preset
Frame size: 1080 x 1920
Aspect ratio: 9:16
Frame rate: 30 fps
Format: MP4
Codec: H.264
Audio: AAC, 48 kHz, stereo
Best aspect ratio for every placement: Reels tab vs feed vs grid
Your 9:16 master is right, but previews are where things go sideways. In 2025, Instagram shifted profile grids to rectangles, which changes what gets cropped on your profile. That is why your cover looks “wrong” even when your video is perfect.
Full 9:16 vs grid preview crop
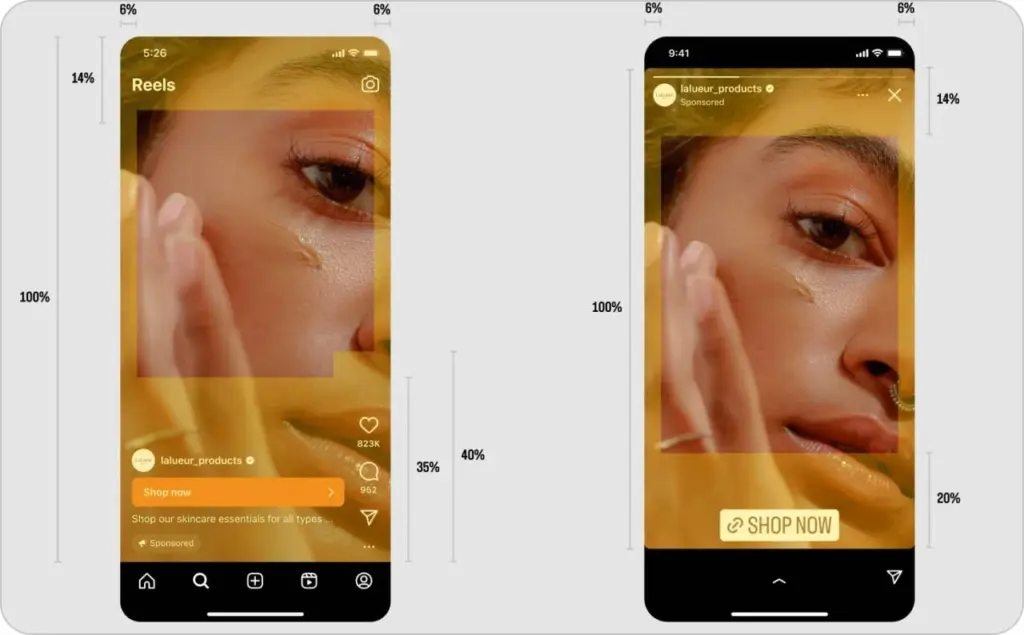
Photo source: Meta Help Center for Business
Checklist to avoid cropping
- Keep your subject and headline in the center band
- Treat the left and right edges as “decoration,” not meaning
- Expect UI overlays to cover more than you think
When 9:16 is “correct” but still looks wrong
Feed preview crops because the feed is not full-screen.
Profile grid preview crops because the grid is rectangular now.
Different device UI overlays move buttons and caption space slightly.
The “shoot once, crop once” rule for creators and brands
Frame for 9:16 first, always. Then protect center content so grid and feed previews still make sense.
Sora 2 meets Zeely to create cinematic product videos with a single prompt.
Product ads work best when they prove something, not just show up.
With Sora 2 inside Zeely, you can place your product into real-feeling conditions and let the features speak for themselves. Wind,… pic.twitter.com/MBXqRE6qBv
— Zeely AI (@zeely_ai) January 5, 2026
Instagram Reels safe zone
Safe zones are the part of your Reel where nothing important should be covered by UI. If you design inside the safe zone, captions, buttons, and your own subtitles stop fighting for the same pixels.
Safe zone buffers for a 1080 × 1920 Reel
- Top buffer: ~270 px (keep logos, headers, and “title line 1” out)
- Bottom buffer: ~670 px (captions, audio, and CTA area live here)
- Left and right buffers: ~65 px each (edge text looks clipped fast)
Subtitle baseline
- Put subtitles above the bottom buffer, not hugging the bottom
- Keep your CTA line one “subtitle height” above your last line
Text placement rule I use
- If it’s a price, a discount, or a deadline, it never goes in the bottom buffer
Where the Reels UI covers your video
Right-side buttons take a vertical strip. Bottom caption and audio take the deepest bite. The top username and progress bar eat a thin band. Read also how to create Instagram reels with AI.
Practical text sizing rules
- Subtitles: 48–64 px for 1080×1920 is a reliable range
- Add a 2–4 px stroke or a soft shadow for contrast
- Never place small legal text under 40 px on mobile
How to resize a video for Reels without ugly crops
You have three clean ways to convert 16:9 to 9:16. The best choice depends on whether faces, products, or text are near the edges.
The three conversion methods and when to use each
1) Cropping is the fastest way to convert to 9:16, but it can cut off important details
Use this when the important thing is already in the middle.
- Best for: talking head centered, product held in the center, hands-on demos
- Avoid if: text, faces, or products sit near the left/right edges
- Quick test: if you zoom the clip until it fills the screen and nothing important disappears, cropping is safe
2) Smart reframe is the safest default because it keeps moving subjects in the center
Use this when the subject moves and you don’t want to babysit the edit.
- Best for: walking videos, handheld clips, creators moving side to side, two people trading positions
- What it does: automatically keeps faces/subjects centered in 9:16
- Still do this: watch the full video once to catch moments where it “chooses the wrong person”
3) Padding or blurring the background keeps the full 16:9 frame visible inside a 9:16 Reel
Use this when cropping would destroy the video.
- Best for: podcasts, interviews, screen recordings, webinars, gameplay, wide group shots
- What it looks like: the full 16:9 video stays intact, with a blurred or solid background behind it
- Bonus: you can add titles, subtitles, or stickers in the empty space without covering the original frame
Step-by-step recipes
Canva
- Create a design: 1080 × 1920
- Drop your 16:9 video in
- Use Position to center faces and product
- Add a blurred background duplicate if needed
- Export MP4
Premiere Pro
- Open your sequence, then go to Sequence → Sequence Settings
- Set frame size to 1080 (horizontal) × 1920 (vertical)
- Reposition clips in Effect Controls (Motion → Position/Scale)
- Use Auto Reframe if you need tracking
- Export one clean master file
CapCut
- New project → Canvas/Format → 9:16
- Add video → use Auto Cutout or Auto Reframe if needed
- Choose Crop or Blur Fill
- Add subtitles inside the safe zone
- Export with a stable FPS
Final Cut Pro
- Create a vertical project: 1080 × 1920
- Use Smart Conform (if available) or keyframe Position
- Check titles on an iPhone preview if possible
- Export H.264 MP4
Best export settings for Reels
Export settings decide whether your Reel survives Instagram compression. My default is boring on purpose because boring exports upload clean.
1080p export preset table
| Setting | Safe default | When to change |
| Codec | H.264 | Use HEVC only if you know your workflow |
| Container | MP4 | MOV is fine, MP4 is safer |
| FPS | 30 FPS | 60 FPS for sports or fast motion |
| Bitrate (1080×1920) | 8–12 Mbps | 12–20 Mbps for 60 FPS |
| Audio | AAC, 48 kHz, stereo | Keep it standard |
Why 4K can backfire
4K files often get compressed harder on upload, which can look softer than a clean 1080p master.
Recommended safe preset
1080×1920, H.264, MP4, 30 FPS, 8–12 Mbps, AAC audio.
When to use 60 FPS or 4K
Use 60 FPS for action and sports. Expect bigger files and more compression pressure.
Why your Reel looks blurry after uploading and how to fix it
Blurry Reels usually come from one of three places: your export, Instagram compression, or your upload conditions. I troubleshoot in five checks so you can stop guessing.
Diagnostic decision tree
- Is your bitrate under 6 Mbps? Re-export at 8–12 Mbps
- Is the clip variable frame rate (VFR)? Convert to constant FPS before edit
- Did you re-export multiple times? Go back to the first clean master
- Did you send it through a messenger app? Avoid re-compression paths
- Was your network weak? Upload again on strong Wi-Fi
The 5 most common causes
1) Your video is not 1080 × 1920 when you export
If you export smaller than 1080 by 1920, Instagram has to scale it, and the result can look soft. Fix: set your sequence or canvas to 1080 × 1920 before you edit.
2) Your aspect ratio is off, so Instagram reframes it
Reels support 9:16 (and also 1.91:1 in some cases), so if your file is a different shape, Instagram will crop or add scaling. Fix: export a true 9:16 master for Reels.
3) Your frame rate does not match the Reel baseline
Hootsuite lists 30 FPS for Reels. If your file is exported differently, Instagram may re-encode it. Fix: export at 30 FPS unless you have a clear reason not to.
4) You upload a format Instagram has to convert
Recommended formats are MP4 and MOV. Fix: export to MP4 as your default, and only use MOV if your workflow requires it.
5) Your quality problem is really UI overlap, not video blur
Hootsuite explicitly warns that the bottom fifth of the screen is where the caption shows, so text placed low can look messy, blocked, or “ruined.” Fix: keep subtitles and CTAs above that bottom area.
How to upload a custom cover
- Create your Reel and reach the final screen
- Tap Edit cover
- Choose a frame or upload from camera roll
- Switch to Profile grid preview and adjust crop
- Publish after the grid preview looks right
Cross-posting: feed, Stories, and Facebook Reels
Cross-posting is where your safe zone discipline pays off. UI overlays move between placements, and Facebook treats video formats differently now.
Placement matrix
| Placement | Shows full 9:16? | What changes |
| Reels tab | Yes | Full-screen UI overlays |
| Feed preview | No | Cropped preview, tap to expand |
| Stories share | Mostly | Stickers and top bars move |
| Facebook Reels | Usually | Preview and UI differ per surface |
What happens when you share a Reel to Stories
Safe zones shift because Stories UI uses different top and bottom bars. Keep your CTA and subtitles higher than you think. Read also about Instagram story size and dimensions.
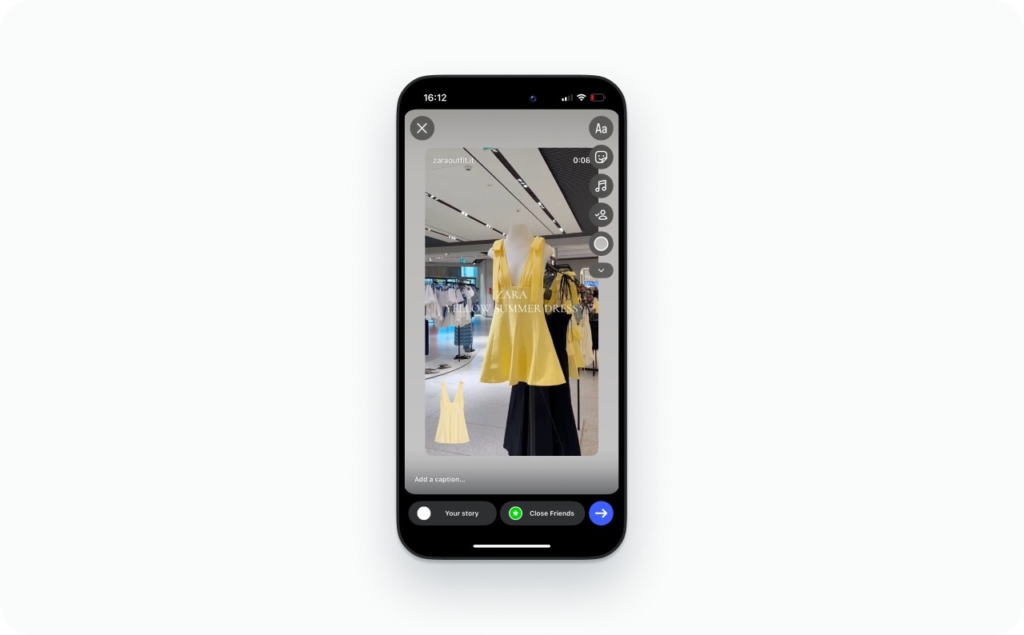
Photo source: @zaraoutfit.it on Instagram
Does Reels aspect ratio change on Facebook Reels?
Keep one 9:16 master, then spot-check previews per placement. Meta’s 2025 change pushes Facebook uploads into the Reels bucket more often.
Length limits
Length limits change by rollout, account type, and app version. The clean planning rule is simple: build your core concept to work under 60 seconds, then expand if your account supports longer.
Quick limits table
| Limit type | Practical default |
| Reel length (common max) | Up to 3 minutes |
| FPS | 30 safe, 60 optional |
| Formats | MP4, MOV |
Why your account may still show 90 seconds
App version rollout. Region or account variance. Feature flags on your account.
Fix checklist
- Update Instagram
- Log out, log in
- Try upload from camera roll, not in-app editor
- Test on a second device
TechCrunch noted Instagram enabling Reels behavior tied to videos up to 3 minutes in 2025.
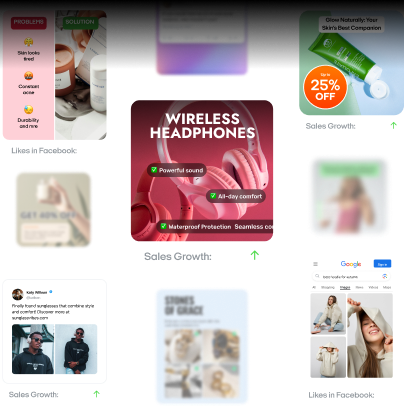
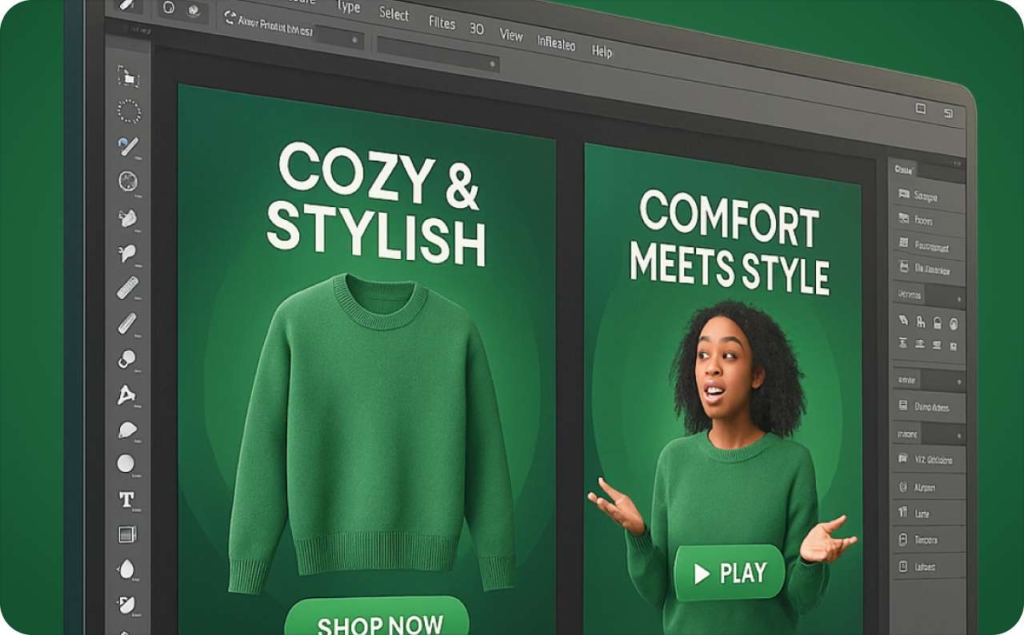
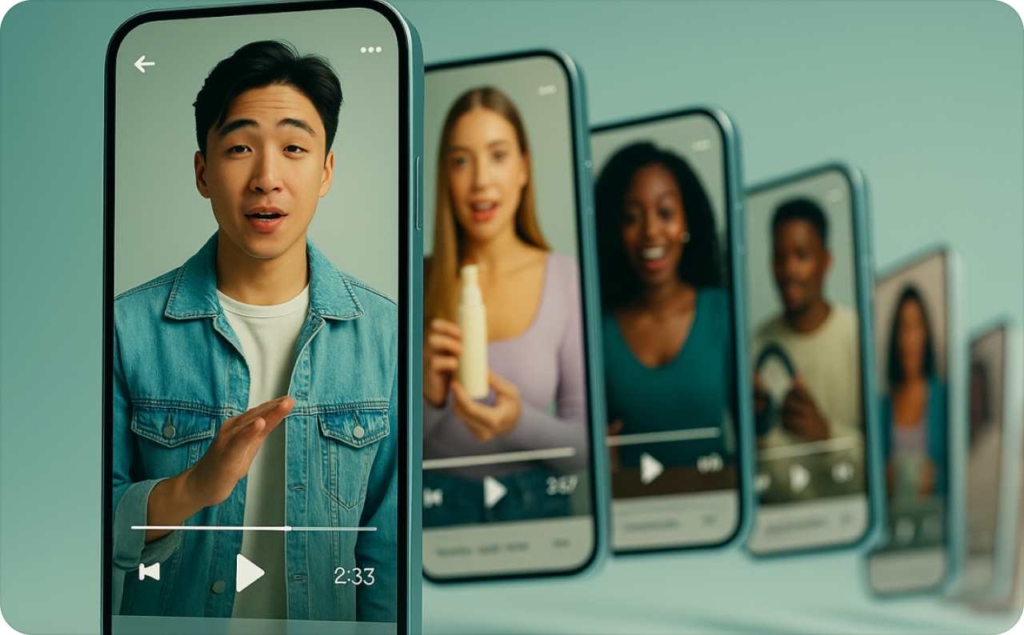
Make every Reel the right size automatically with Zeely AI
I use Zeely AI when I need speed without rebuilding layouts from scratch. The biggest practical win is consistency: I can generate multiple creative variants, preview them instantly, and export without reformatting every single asset. This makes Zeely a reliable AI ads generator for teams that want to move fast without sacrificing quality.
Zeely’s AI reel maker is built around a template-first, vertical-video workflow, making it easy to produce high-performing video ads for Instagram, TikTok, and other social platforms. Instead of wasting time resizing, adjusting ratios, or rebuilding designs, I can focus on testing hooks, messaging, and creatives at scale.
With Zeely, I cancreate Instagram ads with AI while the production process stays streamlined from idea to export so scaling video ads feels efficient, not chaotic. Read now how to create Instagram reels with Zeely AI!
Emma blends product marketing and content to turn complex tools into simple, sales-driven playbooks for AI ad creatives and Facebook/Instagram campaigns. You’ll get checklists, bite-size guides, and real results, pulled from thousands of Zeely entrepreneurs, so you can run AI-powered ads confidently, even as a beginner.
Written by: Emma, AI Growth Adviser, Zeely
Reviewed on: January 21, 2026