How to get verified on Instagram: Your 2026 guide
There are two ways to get verified on Instagram: subscribe to an eligible paid plan or apply for the free badge based on notability. Compare the requirements, prices, and application steps before choosing a route.
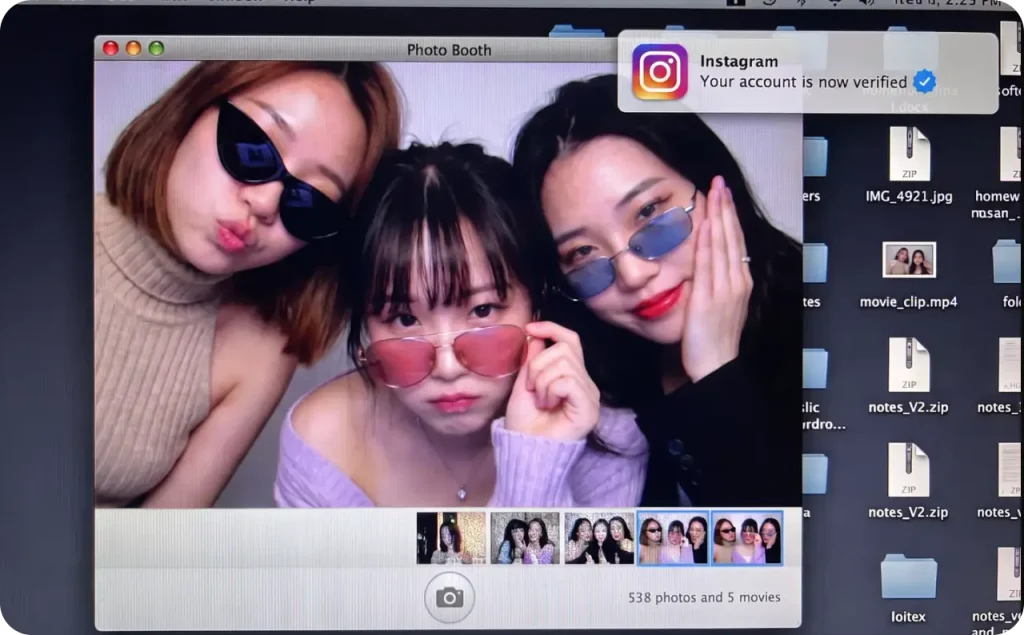
There are two routes to get Instagram verification: a paid Meta Verified subscription, or a free badge that only goes to notable accounts.
Key takeaways
- Meta Verified offers eligible people a paid route without the free route’s notability requirement
- Free verification requires an authentic, unique, complete, and notable account
- There is no published follower threshold that automatically unlocks verification
- Meta lists Standard pricing of $11.99 monthly on the web and $14.99 in the app in most regions. Check your local offer
- Business subscriptions have separate requirements from personal and creator subscriptions
- A badge confirms verification. It does not guarantee reach, sales, or access to monetization
What does the Instagram verification badge mean?
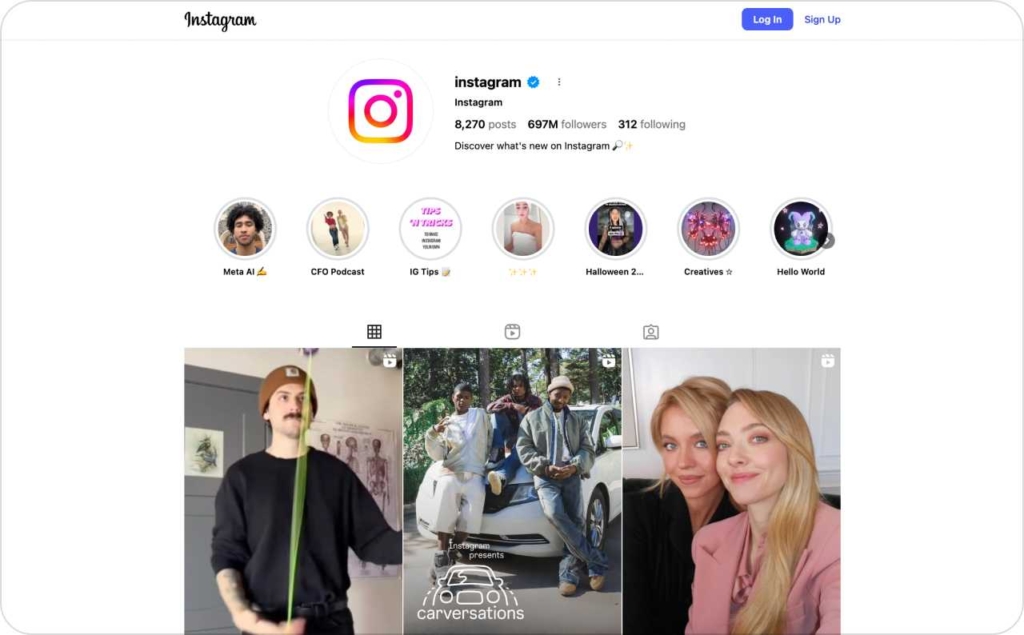
An Instagram verification badge is the blue checkmark Meta places next to an account’s name after confirming the account belongs to the person or brand it claims to be. Meta bases that decision on the account’s activity and profile information, and in some cases on documents the owner submits. For anyone searching your brand, the blue badge is the fastest way to tell your page apart from a copycat.
Some accounts earned their badges through notability. Others received them through an eligible paid subscription. The badge alone does not tell you which route someone used.
What the Instagram blue check does not prove
The Instagram blue check is not a product review, professional qualification, or guarantee that a seller will deliver. I’d still check a business’s website, contact information, and customer feedback before buying.
Meta Verified also offers benefits beyond the badge, including impersonation protection and support features. Review Meta’s creator subscription information and the offer shown in your account before paying.
How to get a blue check on Instagram: Pick the right route
Start with the evidence you already have. If you lack independent news coverage, check the subscription that matches your account type. If people already search for you or your brand and news outlets cover your work, assess the free route first.
| Your situation | Route to consider | What to prepare |
| You use a personal or creator account without significant press coverage | Meta Verified for creators | Eligible account, government photo ID, security settings, monthly payment |
| You represent a person or brand with independent news coverage | Free verification request | Complete public profile, identification, links demonstrating notability |
| You manage a business account without enough coverage for the free route | Meta Verified for businesses | Business details, proof of control, eligible account, plan review |
For a person who also runs a company, verify the identity the audience needs to find. Your personal creator profile and the company’s business profile are different accounts, with different checks.
Can a regular person get verified on Instagram?
Yes. Meta Verified is open to regular accounts, so you don’t need press coverage or a big following to get the badge. Your account has to meet Meta’s requirements, and the subscription has to be offered where you live. After that, you confirm your identity with a government ID.
If clients find you by name, I’d look at this route seriously. Think of a freelance designer or a wedding photographer with 900 followers whose bookings come through Instagram DMs. Paying won’t guarantee approval, though: Meta still checks whether your account qualifies before the badge shows up.
I’d first decide whether people need help distinguishing your real profile from similar accounts. If that problem rarely comes up, the badge may be a lower priority than you expected.
How many followers do you need on Instagram to get verified?
Instagram doesn’t publish a follower minimum for verification, so 10,000 is no magic line, and neither is 100,000. Approval depends on whether your account meets the requirements of the route you apply through.
I’d apply now instead of waiting for a milestone.
Growth below 10k can be slow. Metricool’s 2026 Instagram study found that only 21% of accounts under 10,000 followers grew between early 2025 and early 2026. The figure covers audience growth only, though it’s enough to make a “wait until 10k” plan look like a long one.
Building followers still matters, and it can run alongside your application. Here’s the plan I’d use for getting your first 1,000 Instagram followers.
How to apply for Instagram verification with Meta Verified
Prepare your account before starting checkout. I’d have your ID, account access, and payment details ready so you can complete the application in one sitting.
1. Check eligibility and account security
Meta’s creator eligibility requirements include:
- Being at least 18, or the age of majority where you live.
- Living in a supported country.
- Using an eligible personal or professional creator account.
- Having a government-issued photo ID.
- Meeting activity requirements and limits on recent profile changes.
- Enabling Advanced Protection and following Meta’s policies.
Complete the security steps shown in your account, including any two-factor authentication prompts. Keep your recovery methods accessible before you begin.
2. Review your profile information
Keep the identity requirements from sign-up open and go through your profile against them. I’d look at your name and username first. If your ID says Katherine and your profile says Kat Draws, read the naming guidance for your account before you change either one.
The photo should show your face clearly. A logo or a cropped shot from someone’s wedding makes you harder to recognize.
Then stop editing. Three tutorials will give you three spellings, and one of them will tell you to switch account types. Change only what the requirements screen asks for.
Before you pay, check which profile is selected, which sounds obvious until you’re flipping between your own page and two client accounts at 11 p.m.
3. Open Meta Verified for the correct profile
In the Instagram app, open Profile → menu → Accounts Center → Meta Verified, if that path appears for your account. Some versions surface Meta Verified directly in the menu.
Pick the Instagram profile you want verified, then read the plan screen before you tap anything. Price jumps out on its own. I’d give the renewal terms and the list of benefits an extra minute, since those are easy to skim past.
You can also start on the web through Meta’s subscription page if your account is eligible. When Standard shows up in both places, compare checkout prices, because the app and the browser don’t always charge the same.
A waitlist or an eligibility message is your answer for now, so follow what it says.
If the menu item is missing altogether, don’t blame the app yet. Make sure Meta Verified is offered in your country and that your account type qualifies. Security settings (two-factor authentication, for one) and recent profile edits are less obvious, but I’d check those too.
4. Complete the identity check
Follow the payment and verification prompts in the order shown. Submit the requested ID and complete any additional identity check, such as a video selfie, if prompted.
Photograph documents in good light. Check that the details are readable and the image includes everything the upload instructions request. Submit sensitive documents only through Meta’s official verification flow.
5. Check the review status
Follow the estimate displayed during your application. I’d allow time for review before planning a launch around the badge; payment is not confirmation of approval.
Keep your receipt and check the selected profile if the badge does not appear. A pending review, a failed identity check, and a billing problem require different fixes.
How much does it cost to get verified on Instagram?
The free notability-based application has no subscription fee. Meta Verified requires ongoing payment, with pricing that depends on the plan, purchase channel, and location.
Meta’s published Standard pricing currently gives the following reference prices for creators in most regions:
| Option | Published price | What to check |
| Free notability application | $0 | Whether your account meets the recognition criteria |
| Meta Verified Standard on the web | $11.99 per month | Availability and the final local checkout price |
| Meta Verified Standard in the app | $14.99 per month | The selected profile and renewal amount |
| Higher creator or business plans | Varies | Account-specific benefits, eligibility, and pricing |
2026 update: Meta One now offers the option to apply for a badge on its eligible Essential, Advanced, Expert, and Max plans.
How to get verified on Instagram for free
The free badge comes through the notability route, so it’s worth applying only if independent sources already write about you or your business. A local paper covering your bakery’s opening counts. So does a trade magazine interview about your work.
Polishing your bio and grid won’t fill that gap. If you can’t link to coverage like that yet, I’d look at the paid route instead.
Check the four requirements
The free route assesses whether your account is authentic, unique, complete, and notable:
- Authentic: the account belongs to a real person, registered business or entity
- Unique: only one account per person or business can be verified, with a few exceptions such as language-specific accounts
- Complete: the profile is public and active, with a bio and a profile photo
- Notable: the person, brand or entity is well known and highly searched for
Notable is the one I’d worry about. Your website and press releases describe your work, yet Instagram wants coverage that didn’t come from you.
Prepare evidence that actually proves notability
Collect independent news coverage that clearly identifies the person or business behind your account. Instagram reviews coverage in multiple news sources, but it does not specify a magic article count. Paid or promotional placements do not count toward the notability assessment.
An independent interview that names your business is the link I’d put first. A Yelp page proves the business exists, and that’s about all it proves.
Before a link goes into the form, I open it in a private browser window. If it asks me to log in, the reviewer will likely hit the same wall. I also check that the outlet wrote the piece itself instead of reposting an announcement. Instagram doesn’t publish a scoring system for these links, so treat this as my own routine.
Keep the information consistent across your application, profile, and supporting documents. If you use a professional name, explain the connection wherever the form allows. I’d record each source’s publication, URL, and date in one sheet before opening the form.
Submit the free request in Instagram
You’ll find the request in the Instagram mobile app:
- Open the profile you want to verify
- Tap the menu, then look under Creator tools and controls or Business tools and controls for Request verification. The label can differ by account type.
- Fill in your name and upload the ID or business documents the form asks for
- Pick a category and complete any audience or public-interest fields that show up
- Add your supporting links and submit once you’ve read the whole form back
Check each link one last time right before you submit. I’d also screenshot every page of the form. If Instagram turns the request down, those screenshots show you which evidence to work on before you try again.
How to get a business verified on Instagram
A business can request free verification if the brand meets Instagram’s notability criteria. A company without that coverage can check its eligibility for Meta Verified for businesses.
Check the account and owner. Open the business profile’s professional dashboard and look for Meta Verified. Make sure you can log in to the business account yourself and that you still control the email address and phone number on it. If an old agency or a former employee set the account up, I’d fix that before anything else. Then, before you pay, open the plan Meta offers for that Instagram account and check whether it covers a linked Facebook Page too.
Gather business details. Have the registered name, address, website, phone number, and a working business email ready. Meta may ask for some of these during review. Make sure the public profile and your documents identify the same business.
Prove your connection. Complete the checks offered in your account, which may use a phone, email, or domain. Meta’s business verification overview also describes account activity, account tenure, and two-factor authentication among business eligibility checks. Meta does not publish a universal activity threshold to use as a shortcut.
Wait for the account-specific decision. Review the status in your professional dashboard or the subscription flow. Payment and a successful business-identity check do not mean the badge is already visible. Check the Instagram profile itself once Meta says the review is complete.
For a company account, send links about the company. A founder interview counts only when it clearly names the brand, like a profile of a skincare founder that talks about her line by name. If the piece is all about her and the brand never comes up, I’d leave it out. Every link should lead back to the name on the account under review.
How long does verification take, and what if you are rejected?
For a free application, Instagram says it will notify you in Activity within 30 days. If denied, you can submit a new request after 30 days. Submitting again before a decision cancels the pending application, according to Instagram’s application guidance.
After you apply for paid verification, Meta shows a review estimate in your account. Go by that timeline. The badge appears only once Meta approves you, so I’d hold the “we’re verified” Story until the check shows up on your own profile.
If something goes wrong, identify the stage before trying again:
| Problem | What to review |
| Free application denied | Profile completeness and the strength of independent coverage |
| Meta Verified unavailable | Country, account type, security requirements, and eligibility message |
| Identity check unsuccessful | Document readability and consistency with your profile |
| Payment made but no badge | Review status, selected profile, and subscription status |
Make a substantive improvement before resubmitting a free application. Replacing the profile photo will not solve missing evidence of notability.
For a failed paid application, check Meta’s refund rules. Refunds are available in specified cases, including when Meta cannot verify your identity. The process depends on where you purchased; Apple and Google purchases follow their store refund channels.
Is the Instagram blue check worth paying for?
I’d assess the subscription against a specific problem: copycat accounts, customers struggling to identify you, or the support options included in your offer. A solo creator receiving frequent impersonation reports has a different case from a local shop with no such problem.
A badge does not replace the work that earns customer attention. In HubSpot’s 2026 survey of more than 600 Instagram marketers, 40% said interacting with their audience delivered their highest return among Instagram strategies. That is a marketer-reported finding, not a study of verified accounts.
Before subscribing, write down what you expect to improve and how you’ll notice. For account protection, record the impersonation reports you receive. For support, check the channel included in your actual plan and whether it solves a problem you’ve had.
Meta lists some discovery features in its subscription plans. It does not publish a guaranteed increase in followers, impressions, or sales. If weak distribution is your main concern, work through improving Instagram reach and views and measure that separately from verification.
When you are ready to advertise, Zeely, an Agentic AI platform, helps you create static and video ads. I’d use it to prepare creative options you can review before launch.

How to avoid Instagram verification scams
Start every application from inside your own account or on Meta’s official pages. A DM from “Meta Verification Support” promising guaranteed approval is your cue to stop, since nobody can promise that.
Scammers have plenty of room to work here. In an April 2026 report, the FTC said people reported $2.1 billion lost to scams that started on social media in 2025 (all social media scams combined, verification offers among them or not).
Nobody who messages you first should get your password, a login code, your backup codes or a photo of your ID. If a message says your account needs attention, close it, open Instagram yourself and look for the notice there.
Offers to sell you a badge, or move one over from another account, are the ones I’d walk away from fastest. Instagram lists selling, transferring and verifying through a third party among the reasons it can pull a badge or disable the account.
FAQ
Yes. Neither route sets a follower minimum (the follower section above covers why I wouldn’t wait for one).
For Meta Verified, yes. Meta accepts private profiles as long as the rest of the requirements check out. The free badge works differently, since Instagram only reviews public accounts. I’d leave your privacy settings alone until you’ve picked a route.
If the badge came with your subscription, it goes when the subscription ends. The cancellation screen shows the date your benefits stop. A badge earned through the free notability route was never part of the subscription in the first place.
No, a free Instagram badge stays on Instagram. If your profiles are linked in Accounts Center, Meta may offer a paid plan that covers both, so check which profiles it lists before you subscribe.
No. The badge doesn’t come with payouts, and Instagram’s earning features have their own eligibility rules. If income is the real goal, I’d read the guide on how Instagram creators get paid next.
Decide which route you’re on, then reread that part of this guide with your profile open in another tab. If it’s the free route, be honest with yourself about your coverage.

Sources
Instagram Help Center: Verified badges on Instagram
Instagram Help Center: Request a verified badge
Instagram Help Center: Eligibility requirements for Meta Verified profiles
Instagram Help Center: Refunds for Meta Verified
Meta: Meta Verified for creators and businesses
Meta: Meta Verified subscription page
Meta: Meta One subscription plans
Hootsuite: What is Meta Verified?
Metricool: 2026 Instagram Study
HubSpot: 2026 Instagram Marketing Report
FTC: Reported losses to scams on social media eight times higher than in 2020
Fact checked by Olha Zaporozhets