How to edit product images with AI
Have hundreds of product photos turned small editing jobs into one giant backlog? I’ll show you how to automate repeatable edits while protecting product accuracy and brand consistency.
Most sellers do not need another clever filter. They need twenty uneven product photos cleaned, standardized, and ready by Friday.
Key takeaways
- Product image editing AI can automate cleanup, retouching, cropping, resizing, relighting, upscaling, text changes, and export
- Batch objective edits, such as sizing and exposure. Review subjective changes one image at a time
- Start with sharp, accurate source photos. AI cannot reliably restore details that never existed
- Choose a tool for workflow coverage, batch controls, exports, brand rules, and precise human corrections
- Keep the real product, campaign goal, brand details, and output requirements fixed throughout production
That is the real job of AI product image editing. It connects several production steps without changing the product customers will receive. This guide covers the complete workflow and links to the wider AI product placement workflow when your campaign needs a new scene.
What can AI product image editing automate?
A product image editing AI tool changes existing photos through instructions, presets, or detected objects. Unlike a general image generator, it starts with your actual product as evidence.
AI fits repetitive and rules-based edits best. Common operations include:
- Removing dust, scratches, glare, clutter, or unwanted objects
- Correcting exposure, contrast, white balance, and uneven lighting
- Retouching surfaces without changing the product’s material
- Cropping and centering products across a catalog
- Resizing images for stores, marketplaces, ads, and social posts
- Upscaling smaller files while protecting visible edges
- Adding or correcting short text elements
- Applying naming rules, file formats, and export settings
This is already normal production work. A 2026 VSCO survey of 401 photographers found that 83% used AI. Another 55% wanted AI most as a production assistant for editing and post-production.
Two jobs deserve their own instructions. Use the dedicated process to replace a product in an existing image. Use the background guide to replace or generate a product background. Here, both remain small steps inside a broader editing system.

How to prepare source images for AI product editing
Better source files reduce hallucinated labels, warped edges, and false textures. Start with the largest original file available, not a downloaded thumbnail.
Google’s current Merchant Center guidance recommends product images around 1500 × 1500 pixels or larger. It also caps uploads at 64 megapixels and 16 MB. Those numbers give you a practical master-file baseline.
Before using an AI product photo editor, prepare each SKU:
- Choose a sharp, well-lit image with the full product visible
- Match the photographed color, size, label, and bundle to inventory
- Keep the original file untouched as your source of truth
- Record the SKU, channel, aspect ratio, dimensions, and file type
- List protected details, including logos, text, shape, and materials
- Remove duplicate, blurry, compressed, or outdated source files
Create one short preservation instruction for every batch. For example: “Keep the bottle shape, label, logo, color, cap, and proportions unchanged.” Then describe only the permitted edit.
A repeatable AI product image editing workflow
The fastest workflow is not one giant prompt. It is a controlled sequence with checkpoints between risky changes.
Adobe’s 2026 content creation and management report found that 76% of organizations improved content volume and speed with generative AI. Yet 53% still described production as linear and resource-intensive. Faster tools cannot rescue a messy handoff.
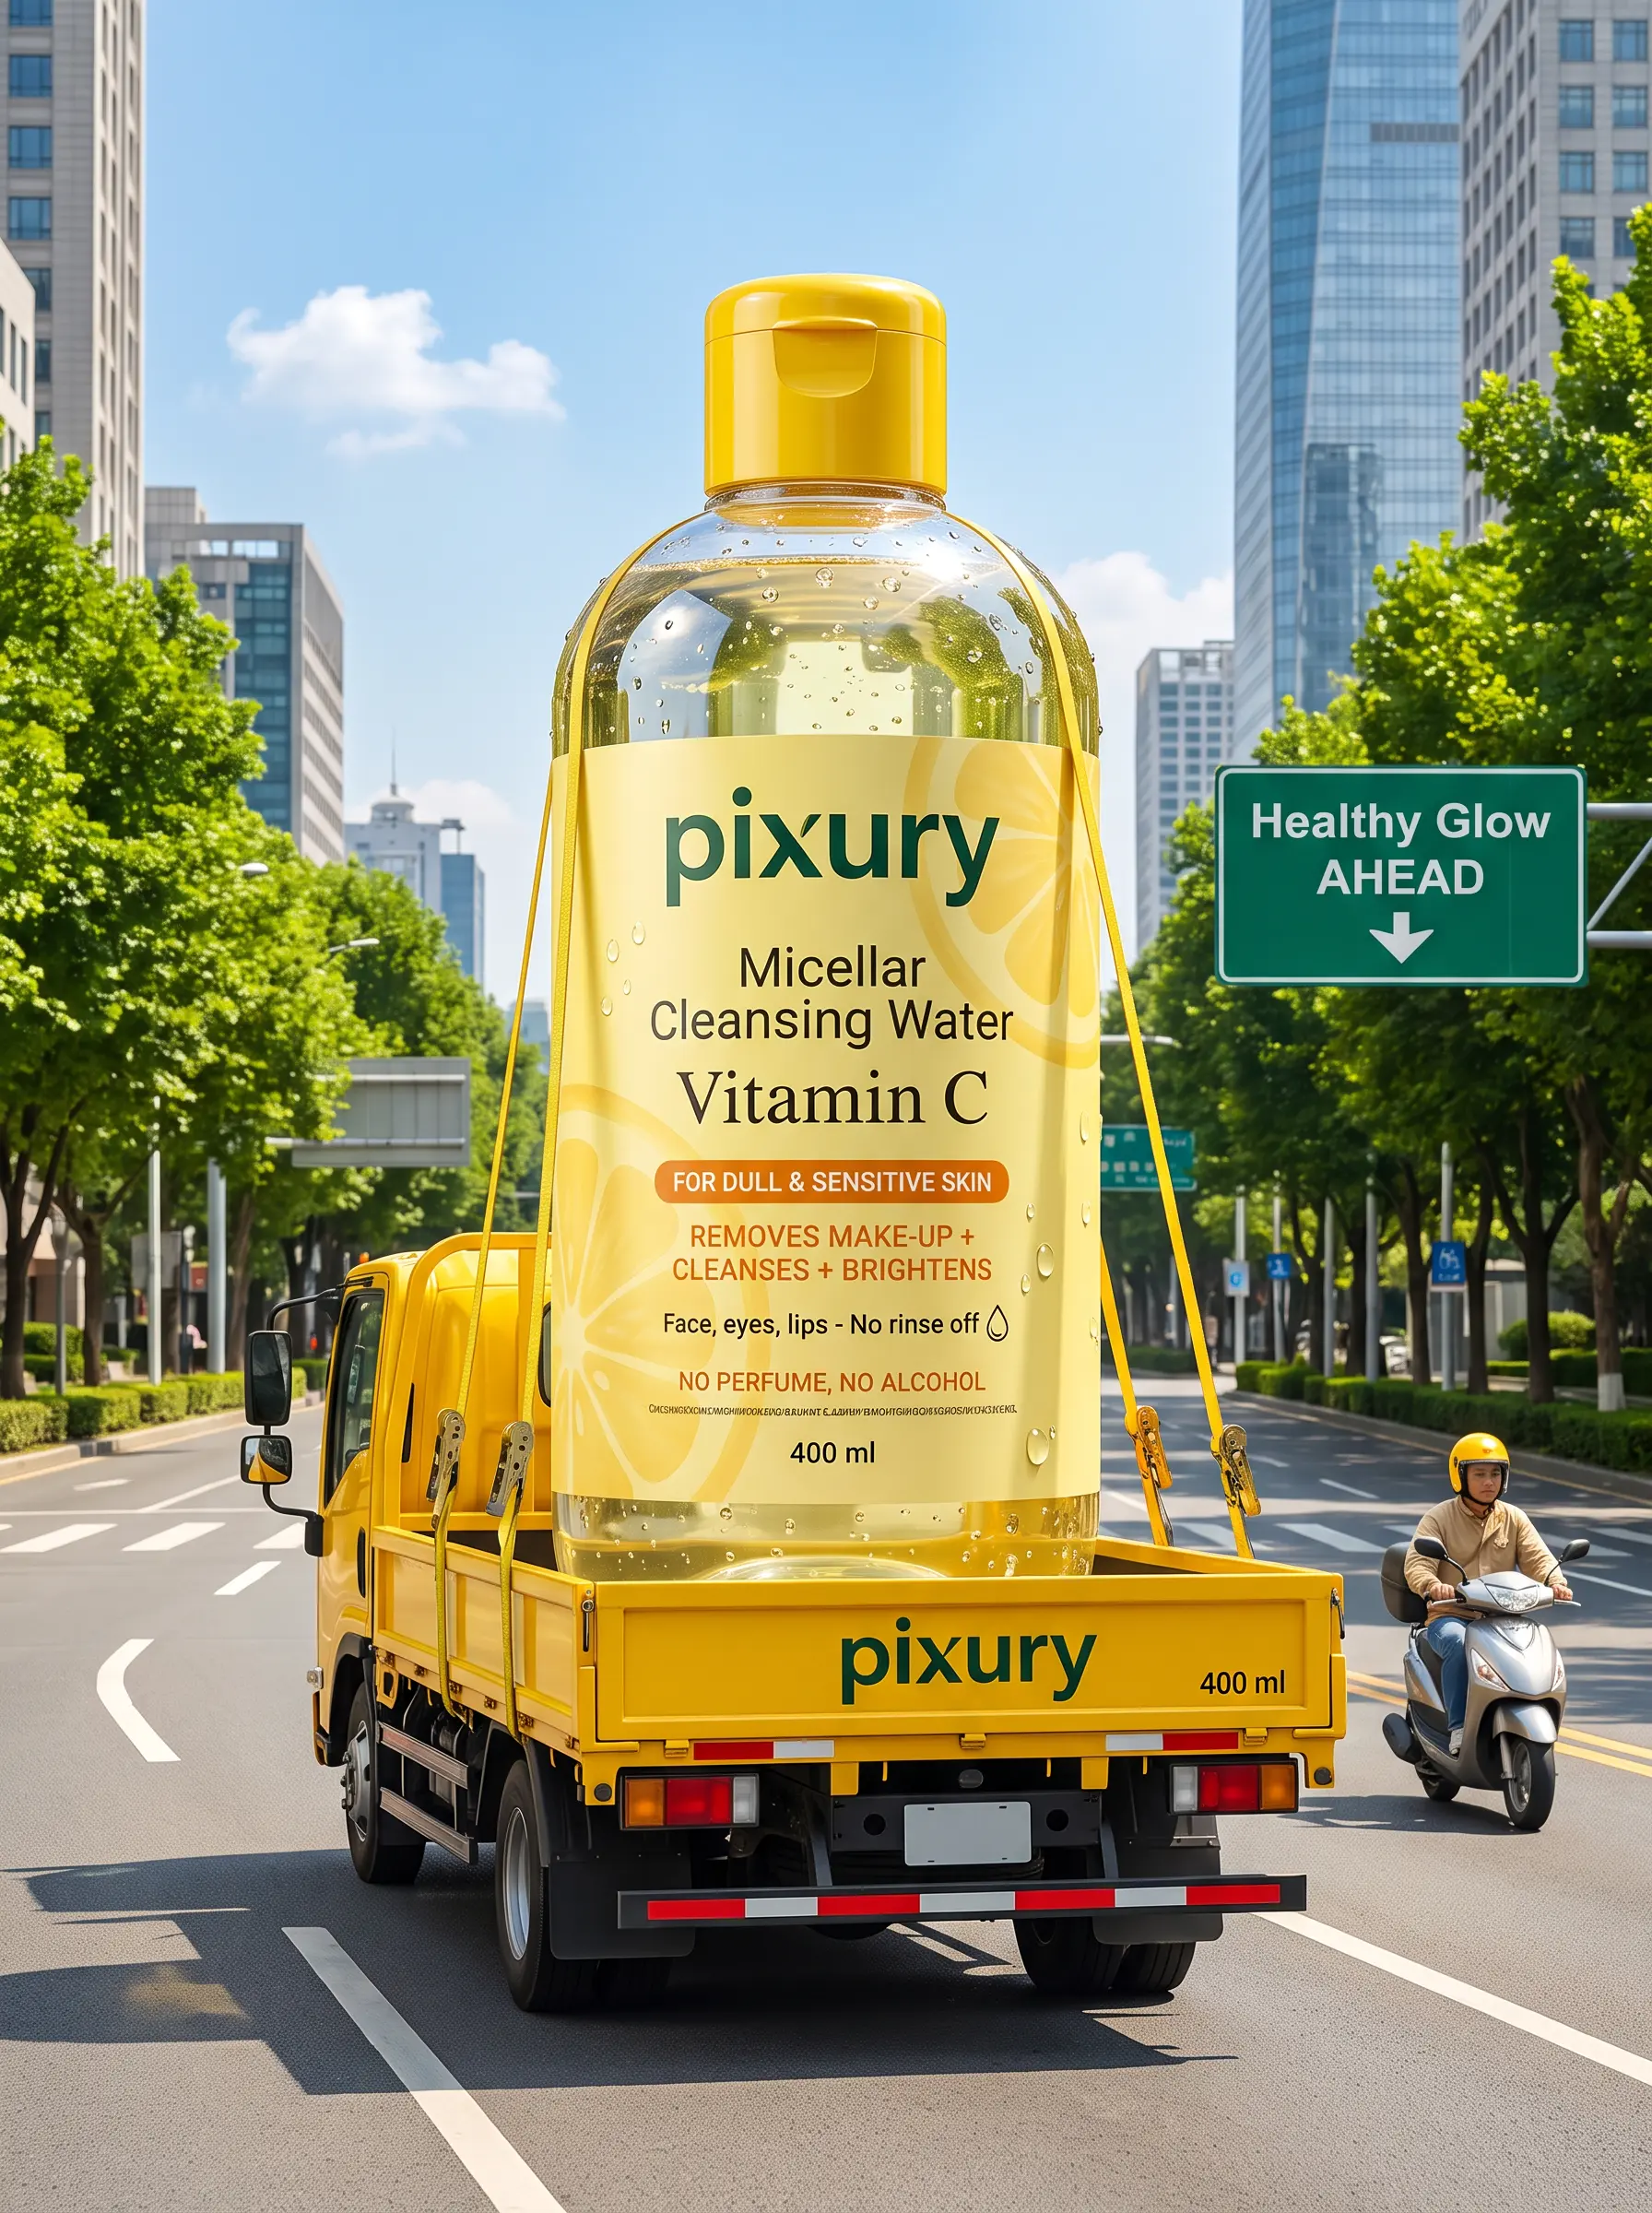
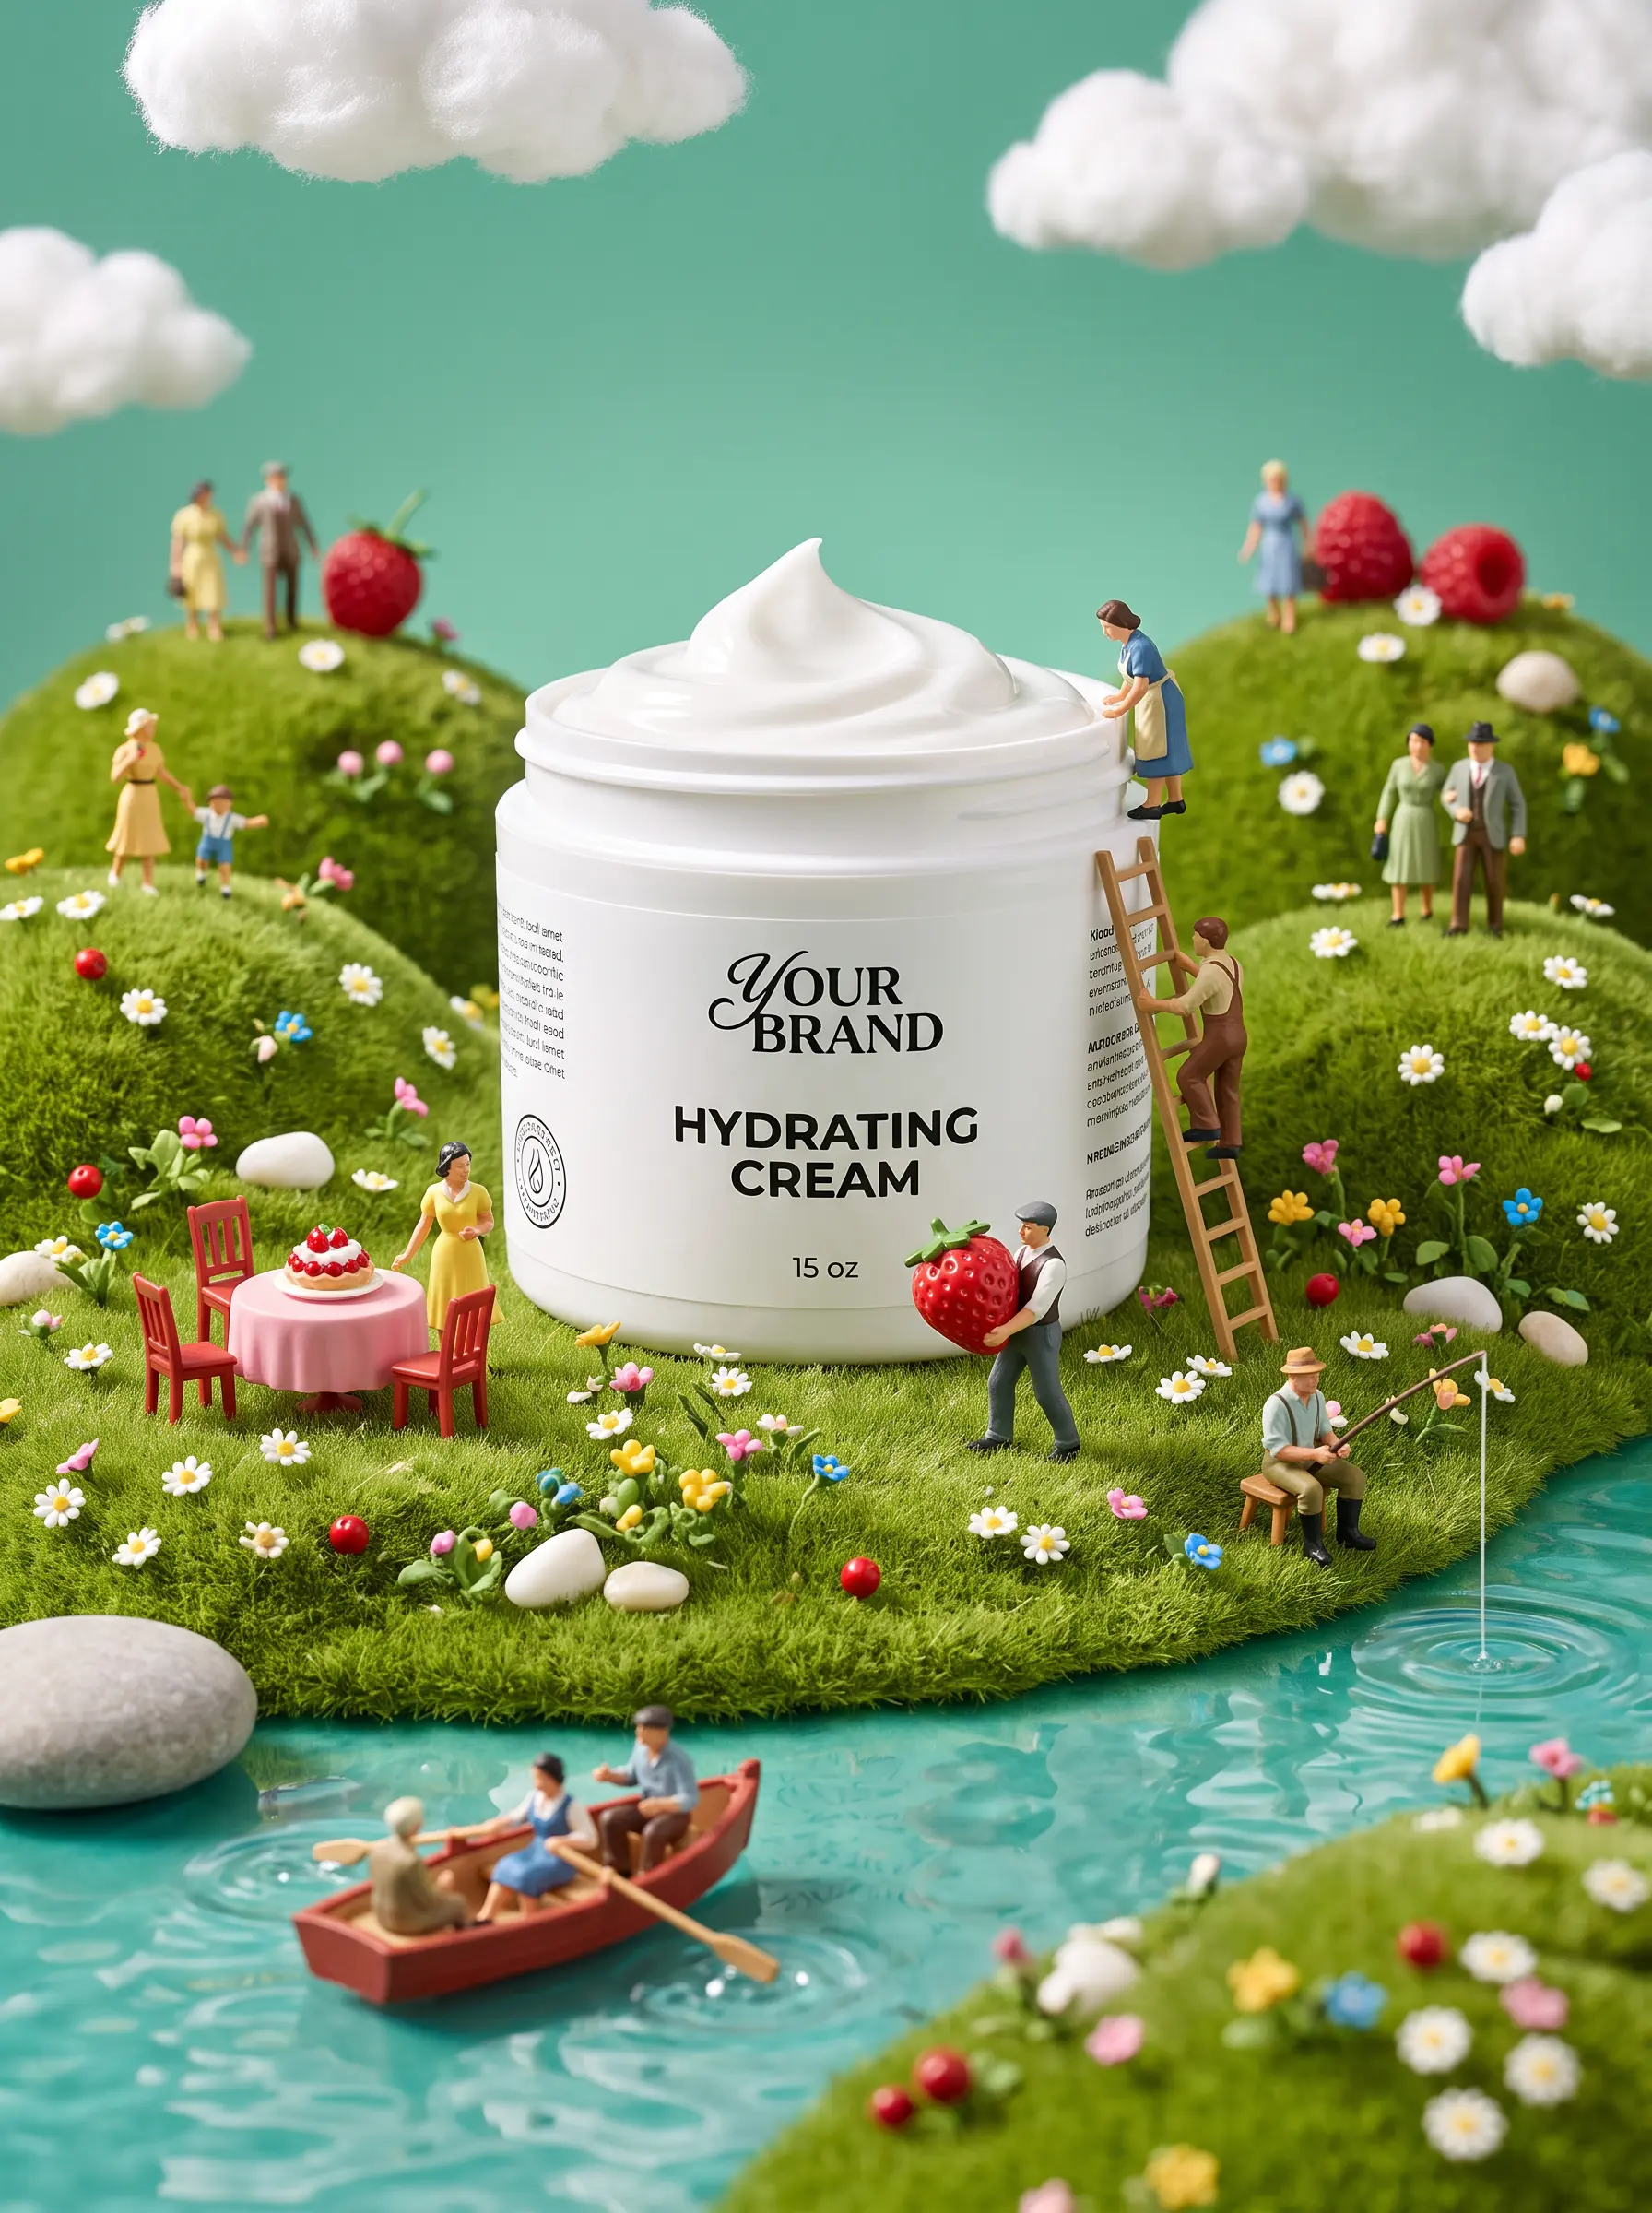
Use this six-step workflow instead:
1. Define the output set
List every required asset before editing. Include store images, marketplace files, paid ads, thumbnails, and social formats.
2. Protect product truth
Lock the SKU color, proportions, packaging, included items, claims, and logo. Treat the approved source photo as the comparison file.
3. Clean before enhancing
Remove dust, clutter, color casts, and weak framing first. Do not upscale a flaw, because AI will make that flaw impressively larger.
4. Make controlled visual edits
Adjust lighting, retouch surfaces, or add text in separate passes. Small changes are easier to review and reverse.
5. Resize and export by channel
Create named output presets for each destination. Add the SKU, channel, ratio, version, and date to filenames.
6. Review, approve, and archive
Compare outputs with the original at 100% zoom. Save approved masters, channel exports, prompts, and settings together.
For larger campaigns, connect this editing stage to batch creative production instead of repeating the same setup manually.
Which product-image edits should run in batches?
Batch the edit when every file follows one measurable rule. Keep human review when success depends on visual judgment.
Good tasks for batch product image editing include:
- Standard canvas sizes and aspect ratios
- File conversion and compression
- Consistent margins, alignment, and safe zones
- Basic exposure and white-balance correction
- Background cleanup for similar source images
- Watermark placement for channels that allow it
- File naming and folder routing
Review AI product retouching, relighting, text repair, reflective surfaces, and edge reconstruction separately. These edits can alter the product’s appearance or meaning.
Test a batch on five varied images first. Include your easiest SKU and your hardest one. Approve the settings only after both survive inspection.
Image formats and resolutions for ecommerce outputs
Keep one high-resolution master, then export smaller channel-specific files. Repeatedly resizing an already compressed image slowly turns detail into soup.
Shopify currently accepts product images up to 5000 × 5000 pixels or 25 megapixels. It recommends 2048 × 2048 pixels for square product photos. Your marketplace or advertising platform may set different limits.
Use these simple rules:
- PNG: logos, text-heavy graphics, and transparency
- JPEG: standard product photos with smaller file sizes
- WebP: efficient web delivery when your workflow supports it
- TIFF or PSD: editable masters, not everyday web delivery
Run AI product image resizing from the master file. Use AI product image upscaling only when the source lacks enough pixels. Upscaling can smooth edges, but it cannot confirm tiny label text or real material texture.
Maintain separate presets for catalog pages, marketplace listings, paid social, Stories, Reels, and display placements. Never stretch one ratio into another.
How to review AI-edited product images
An image can look polished and still show the wrong product. Quality control must compare the output with the real SKU, not your memory.
That human step is not old-fashioned. In an August 2026 survey of 1,328 photographers, 76% adjusted AI suggestions to keep images authentic. Another 92% preferred natural-looking results. Ecommerce teams need the same restraint.
Check every approved image for:
- Correct shape, proportions, color, finish, and variant
- Unchanged logo, label placement, spelling, and small print
- Realistic edges, contact shadows, reflections, and transparency
- No invented accessories, bundle items, seals, or product claims
- Correct crop, safe zones, dimensions, format, and file size
- Consistency with the landing page and current inventory
Use three review levels. Automation checks file rules. A marketer checks the campaign goal and brand fit. A product owner confirms SKU truth.
Track revision reasons, not only approval status. If label drift appears repeatedly, tighten your preservation instruction. If edges fail on transparent products, route that category to manual editing.
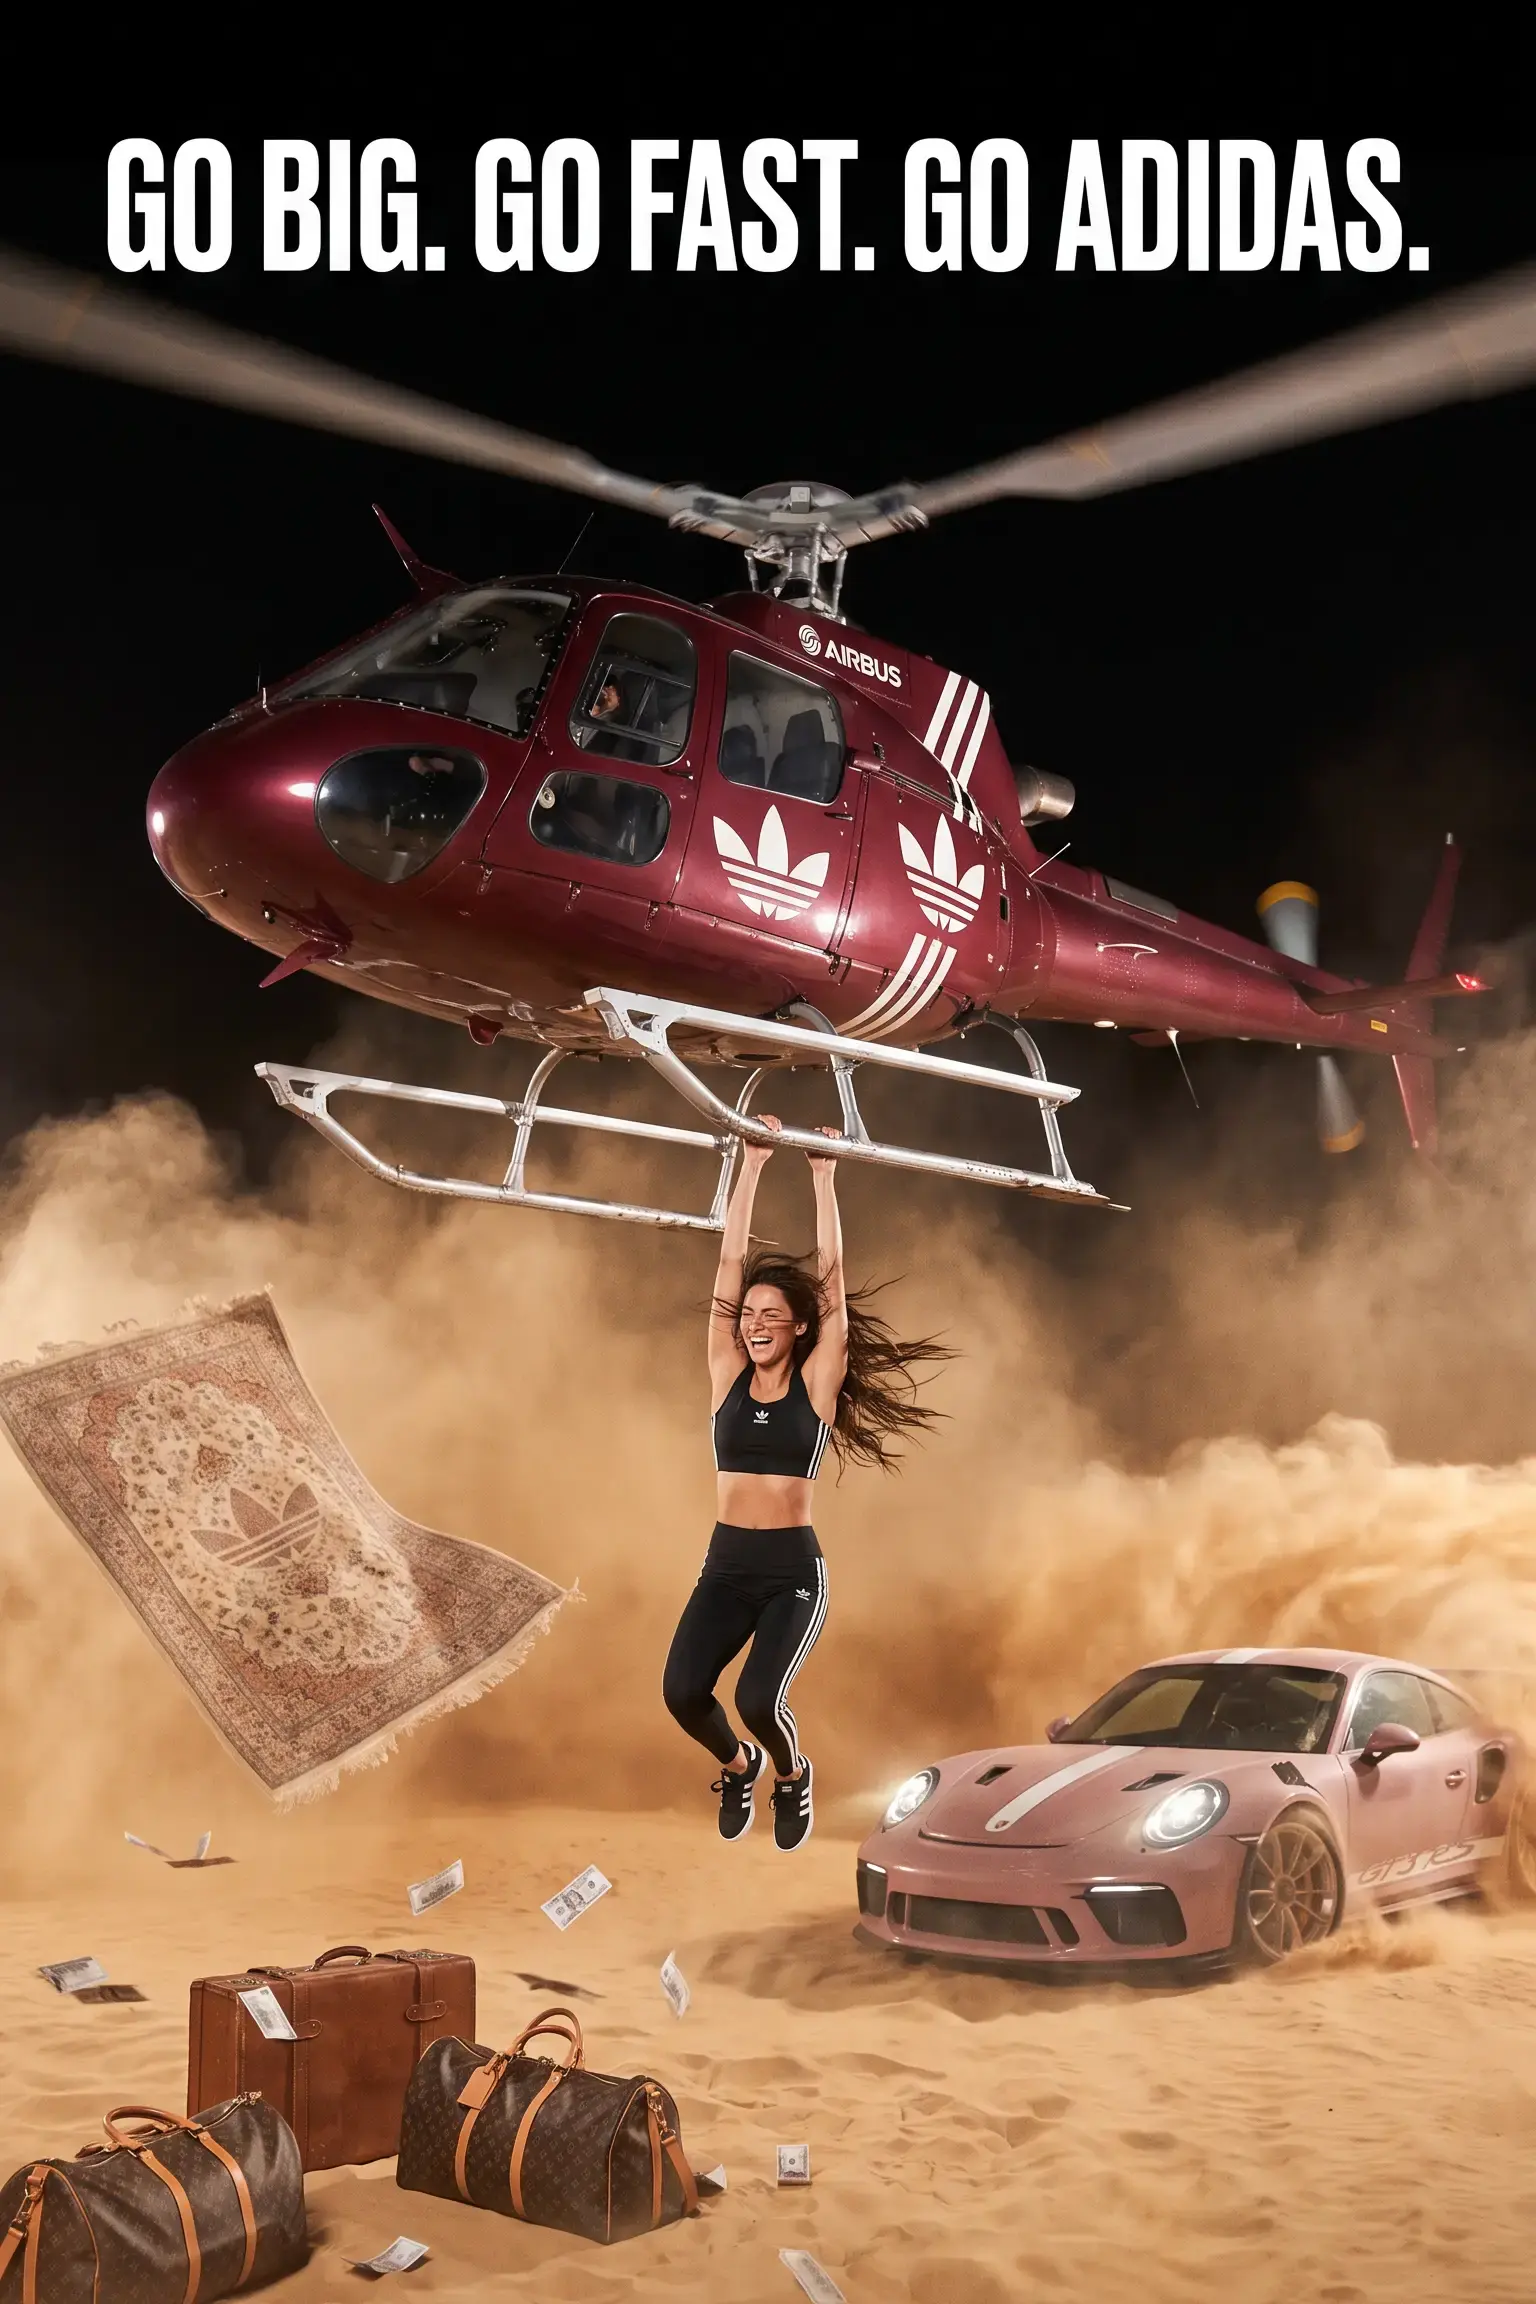
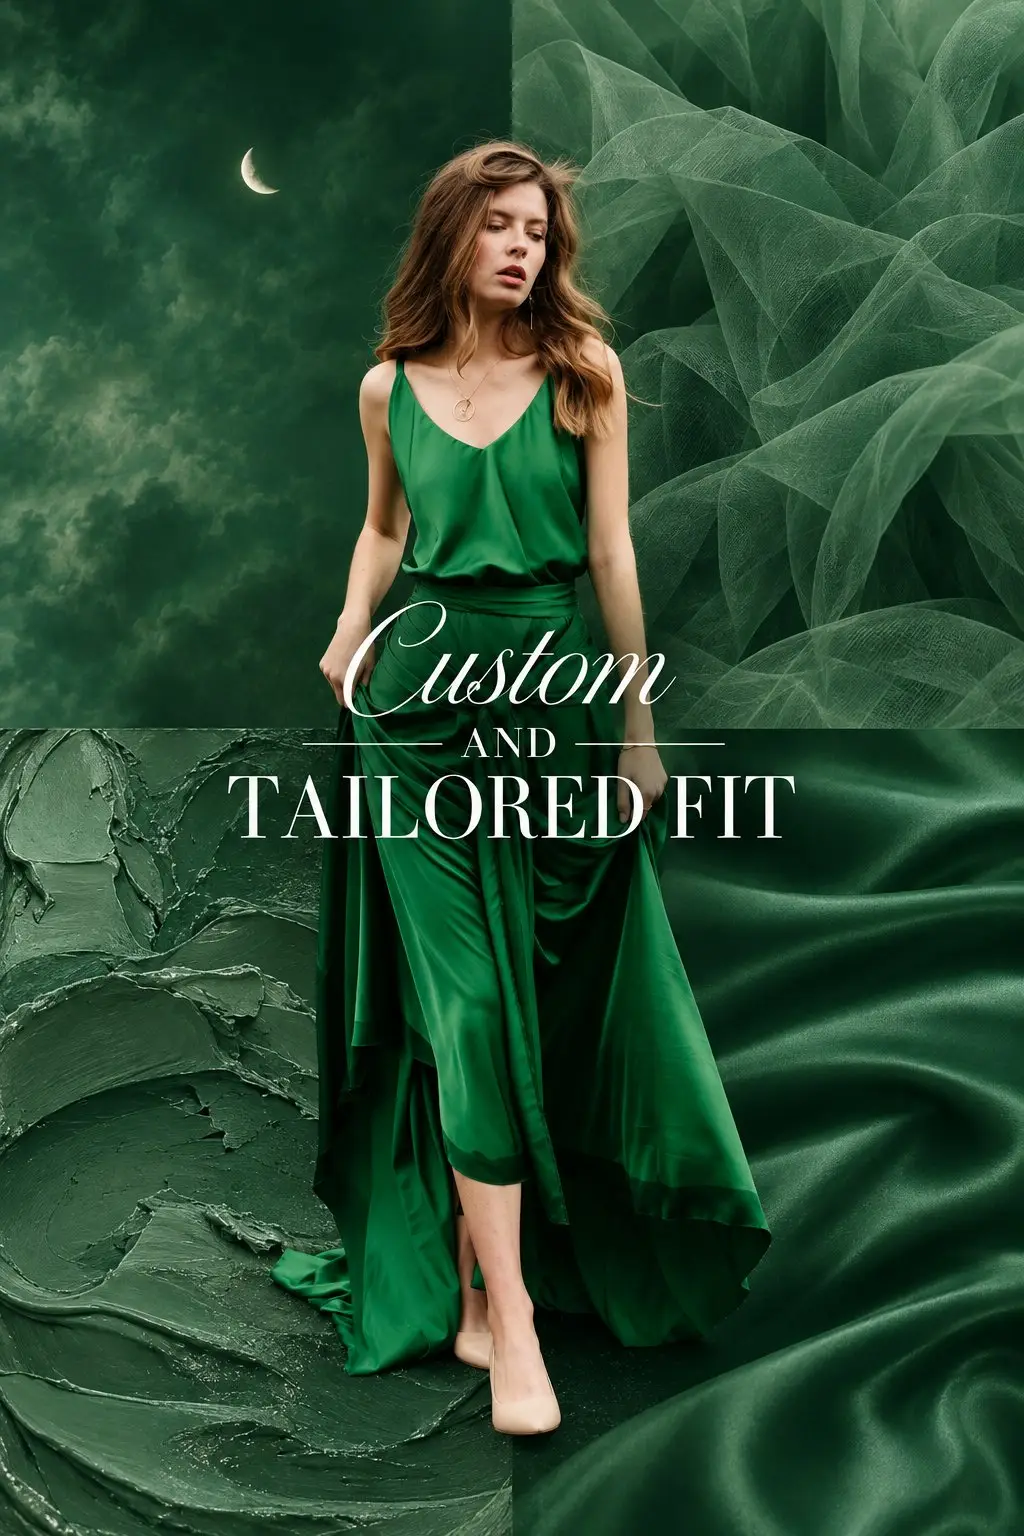
How to choose a product image editing AI tool
The best AI for bulk product image editing covers your full workflow without hiding corrections behind automation. A flashy demo matters less than reliable output across fifty imperfect files.
Evaluate every AI ecommerce photo editor against these criteria:
- Editing operations: Does it cover cleanup through export?
- Batch control: Can you preview, pause, and reverse changes?
- Inputs and exports: Does it support your master and delivery formats?
- Resolution: Does it preserve enough detail for every channel?
- Brand controls: Can it lock colors, logos, fonts, and templates?
- Human controls: Can you mask, adjust, compare, and restore areas?
- Speed: Can it queue large jobs without blocking corrections?
- Integration: Does it connect product data, folders, and production tools?
- Cost: Does pricing still work across your monthly image volume?
When comparing AI image editing tools in 2026 for product photography, test the whole process. A capable AI product image editor should handle more than one-click product photo enhancement. It should move approved files from intake through consistent export.
Test advanced AI image editing for product shots with difficult files first. Include glass, metal, fabric, small labels, and irregular edges. Easy white-background photos make almost every tool look heroic.
Which AI product image editing tool fits each job?
When comparing AI image editing tools in 2026 for product photography, do not expect one platform to handle every task equally well. Choose each tool according to the edit that needs the most control.
| Tool | Use it for | Know before choosing |
| Adobe Photoshop | Precise retouching, masks, color corrections, label repairs, and repeatable batch actions | It offers strong human control, but complex product edits still require time and editing experience |
| Photoroom Batch | Applying consistent templates, sizes, positions, backgrounds, and AI shadows across many product photos | Some controls remain limited to its individual editor, so difficult images need a separate review |
| Topaz Photo | Upscaling, resizing, sharpening, and reducing compression artifacts in smaller source files | Very weak inputs can produce invented details, especially around text, logos, and structured packaging |
These tools help prepare an accurate master image. The next production problem is different: turning that approved image into enough branded creatives for testing. That is where Zeely enters the workflow.
How I turn edited product images into ad assets with Zeely
Zeely fits after your master image passes its accuracy review. It handles ad production, not catalog retouching or final SKU verification. Use AI product image editing first, then turn approved product images into ad variations.
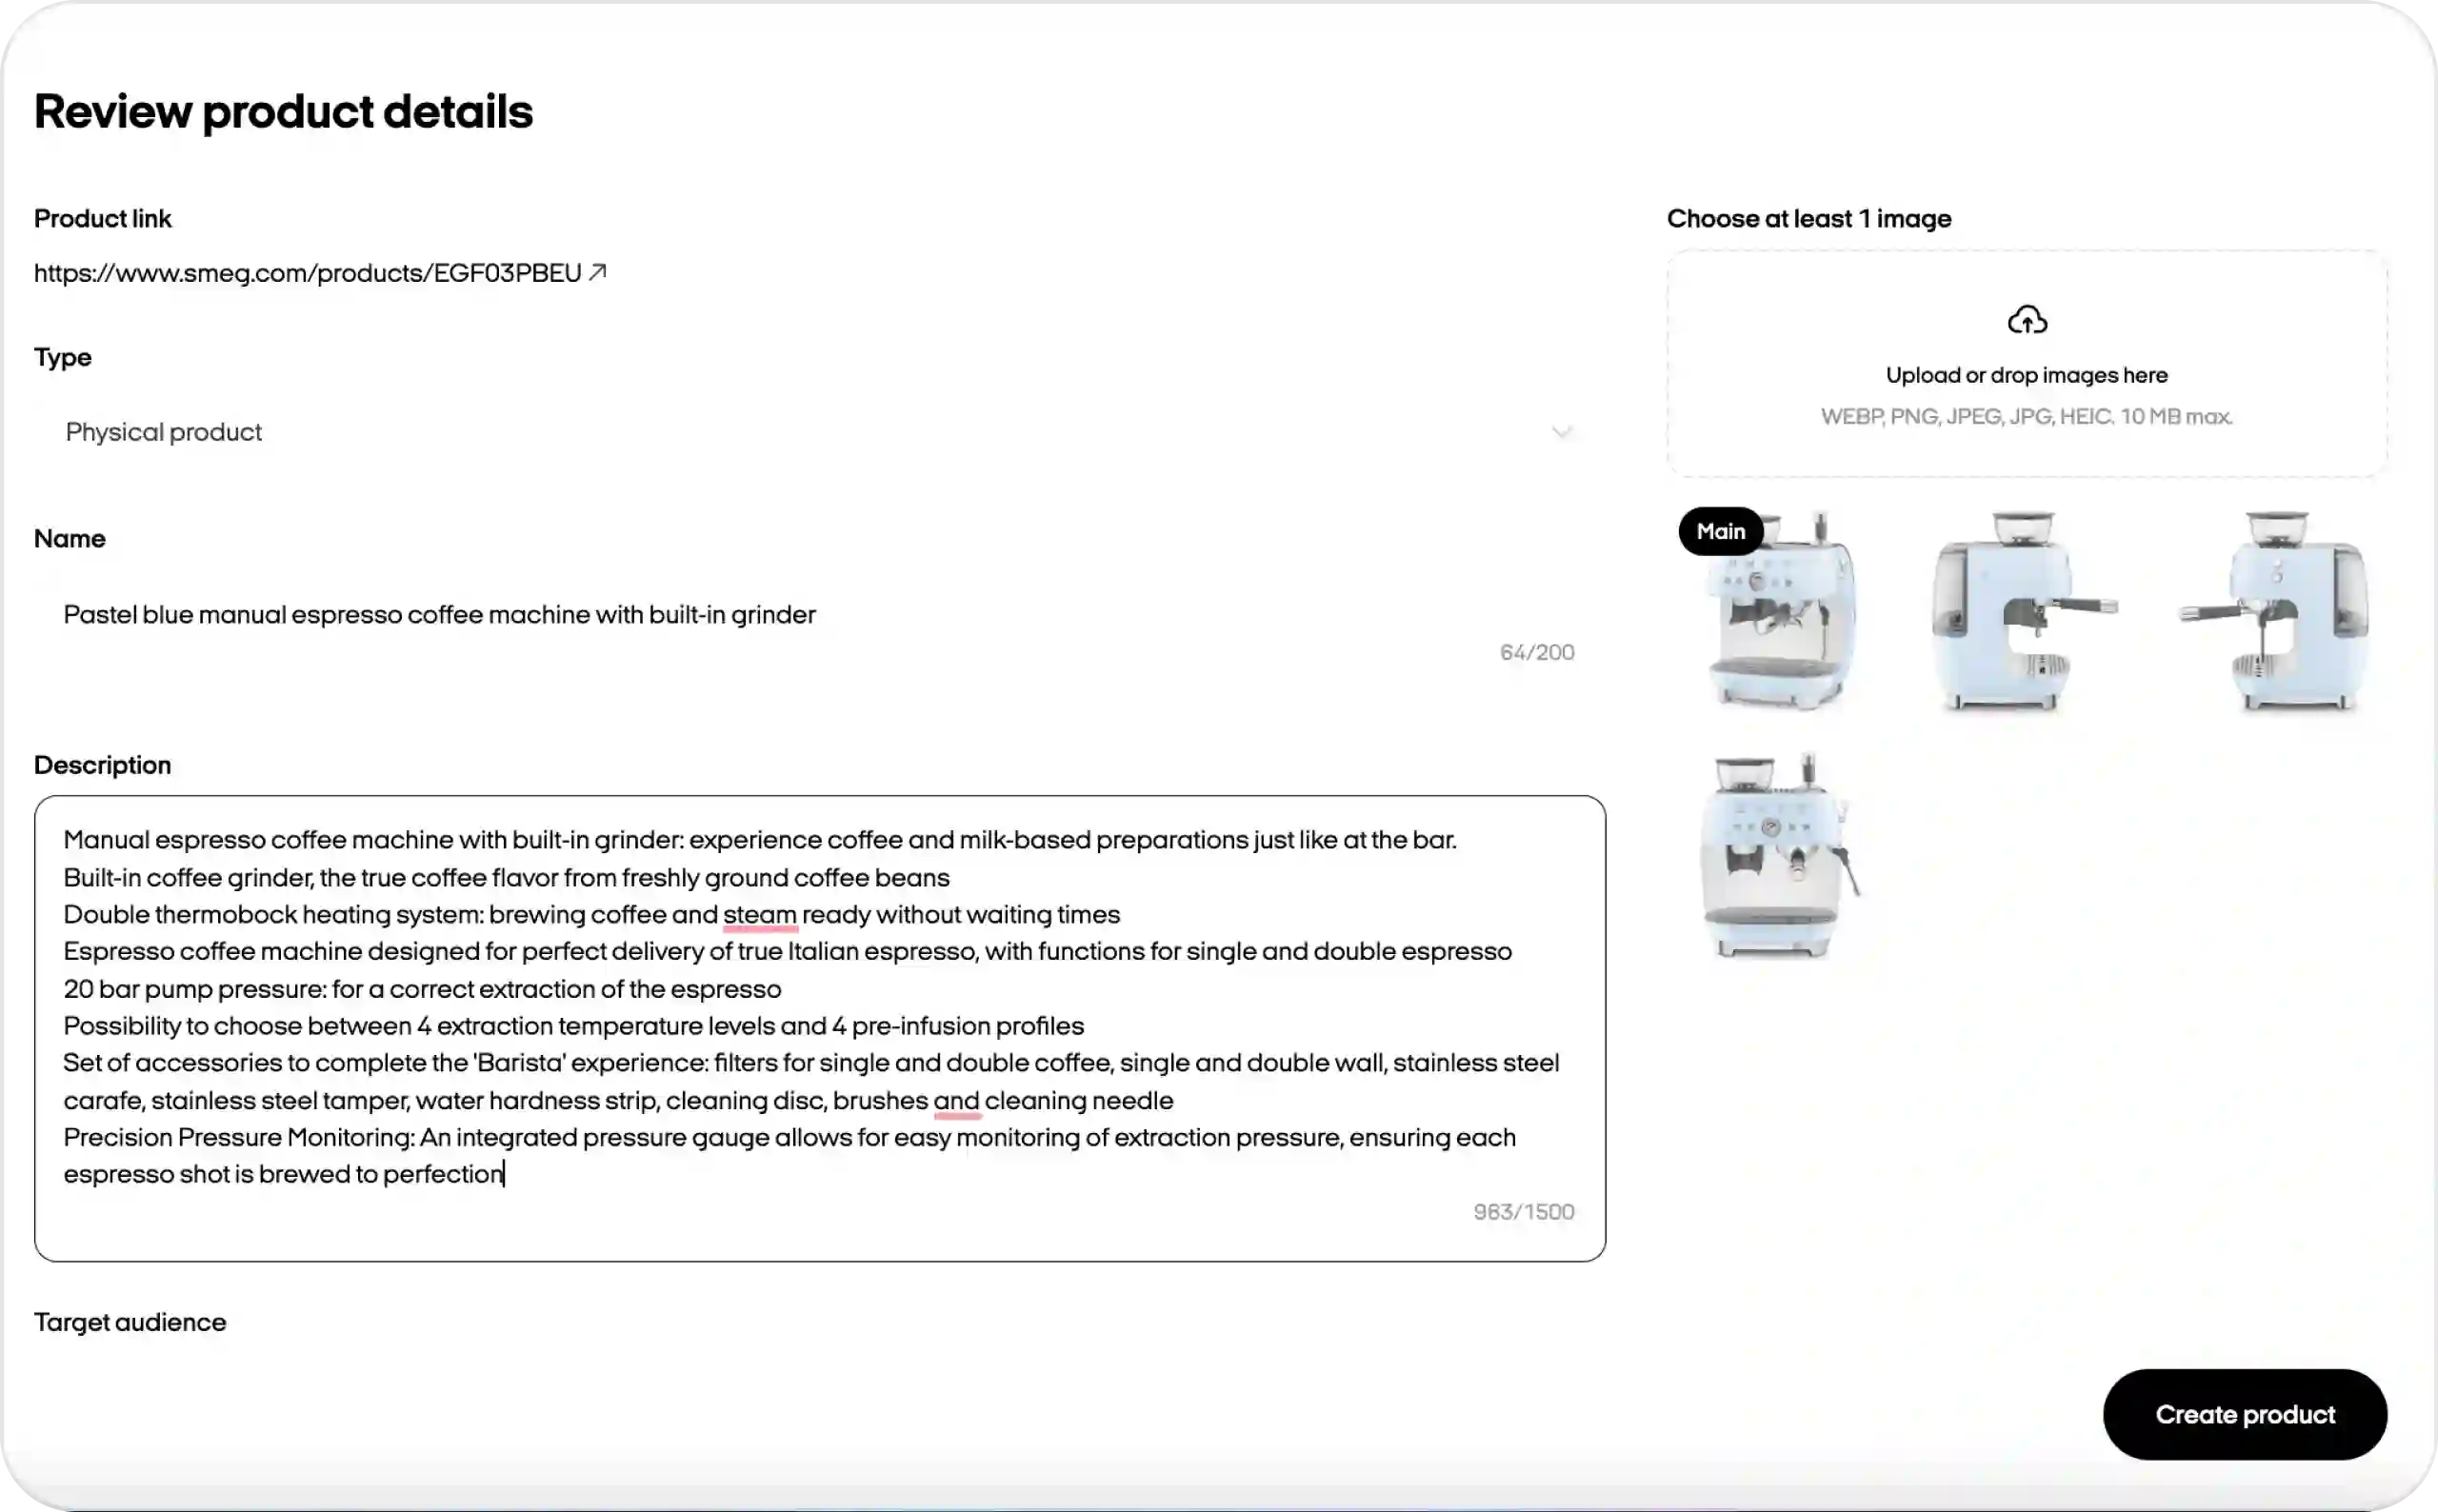
Start by selecting a saved product, pasting a publicly accessible product URL, or uploading your approved image. Zeely extracts available titles, descriptions, images, and other public page details. You do not need to connect your Shopify or WooCommerce account or install a plugin. Always check the imported information because completeness depends on the source page. Zeely separately generates a suggested CTA and target audience profile.
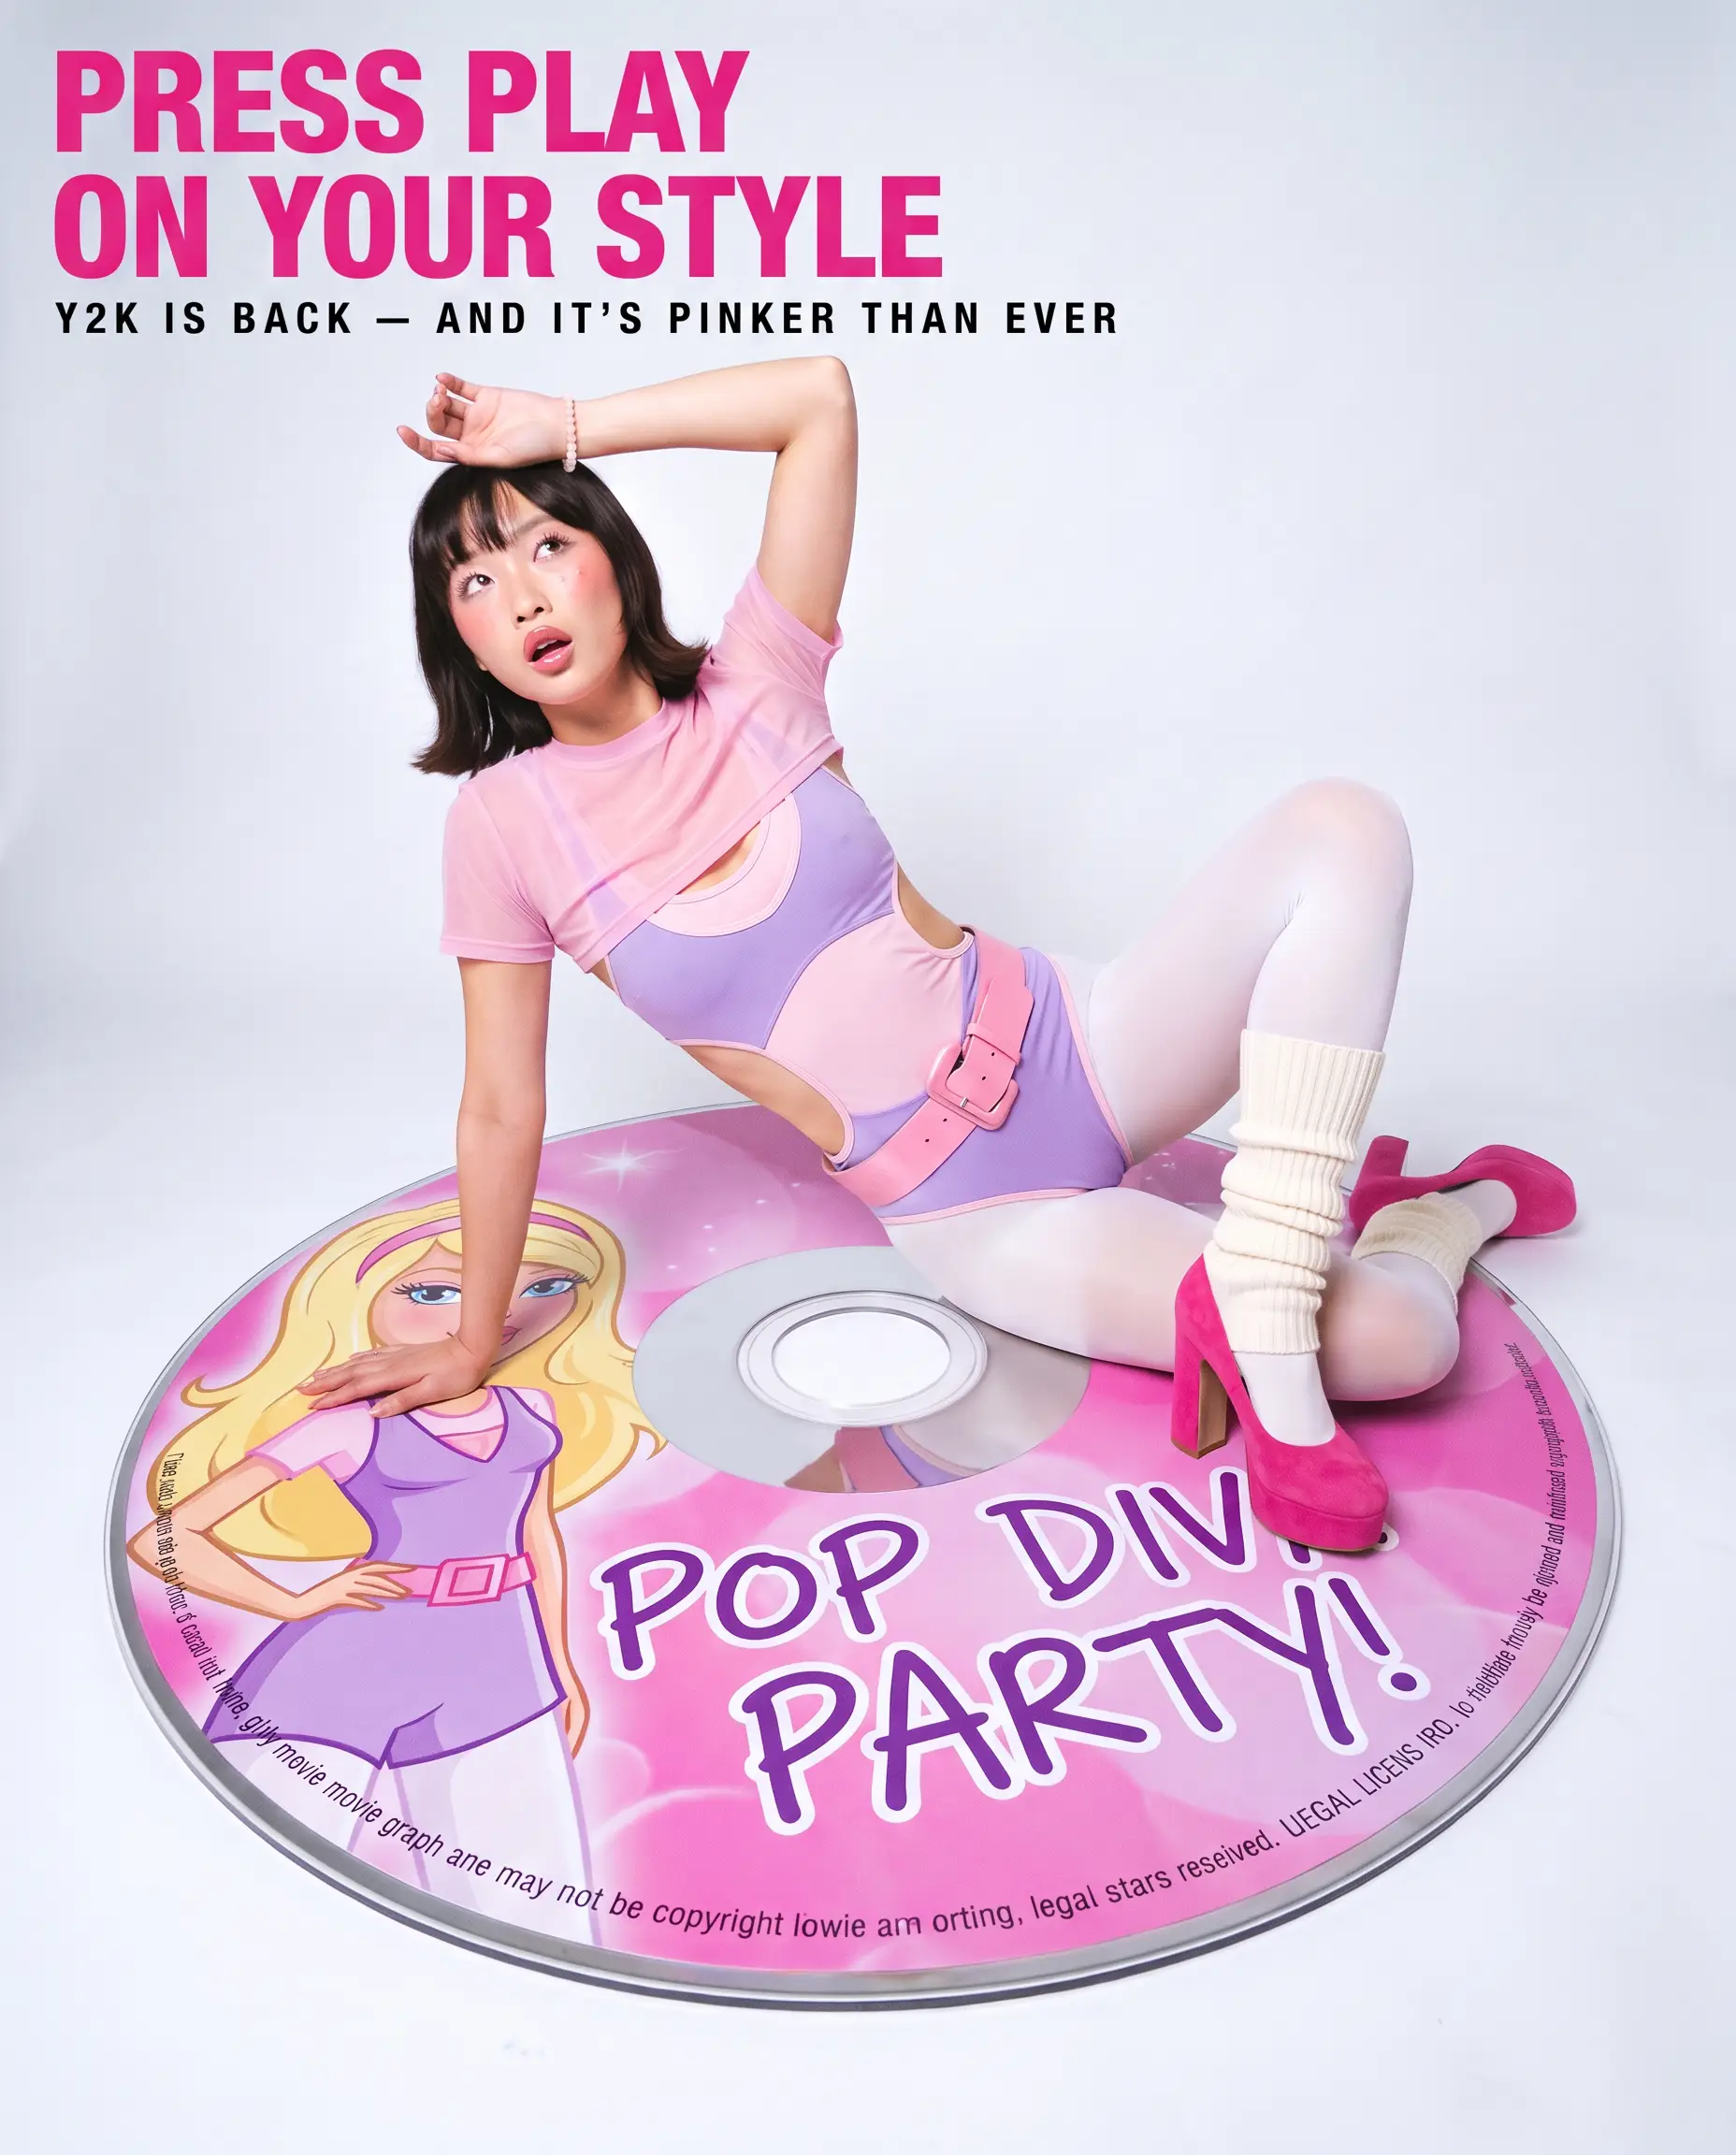
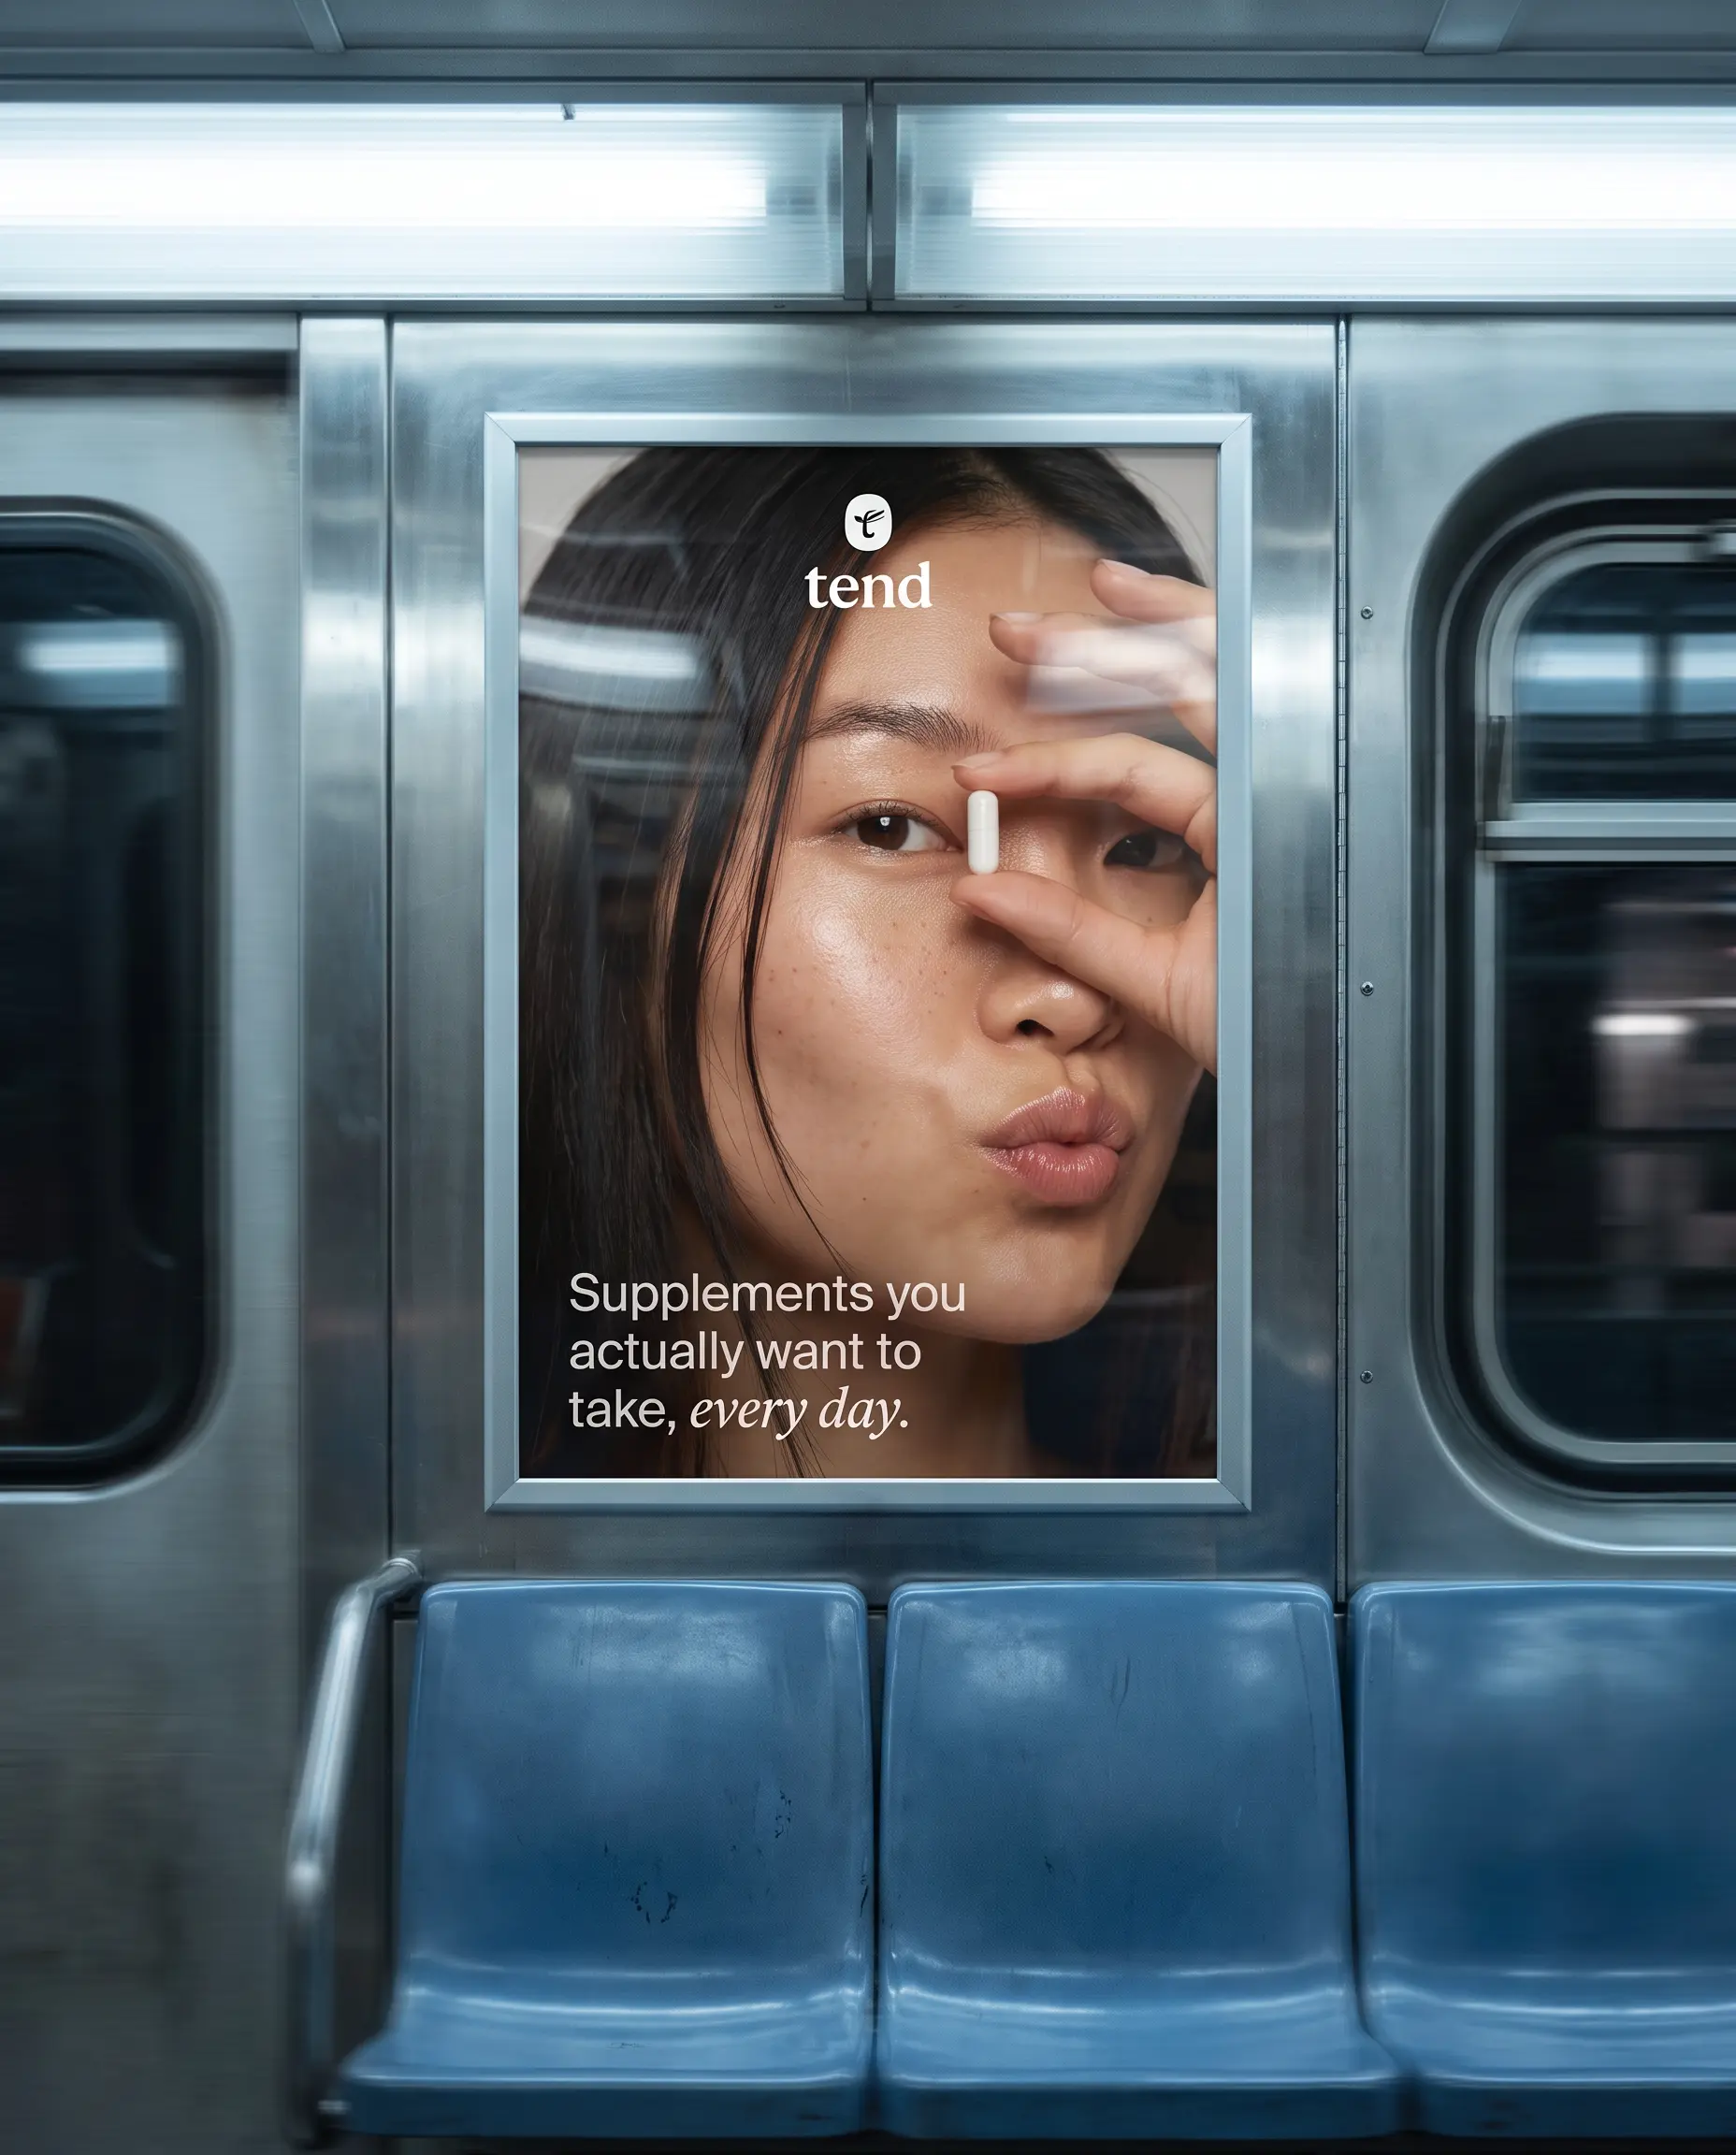
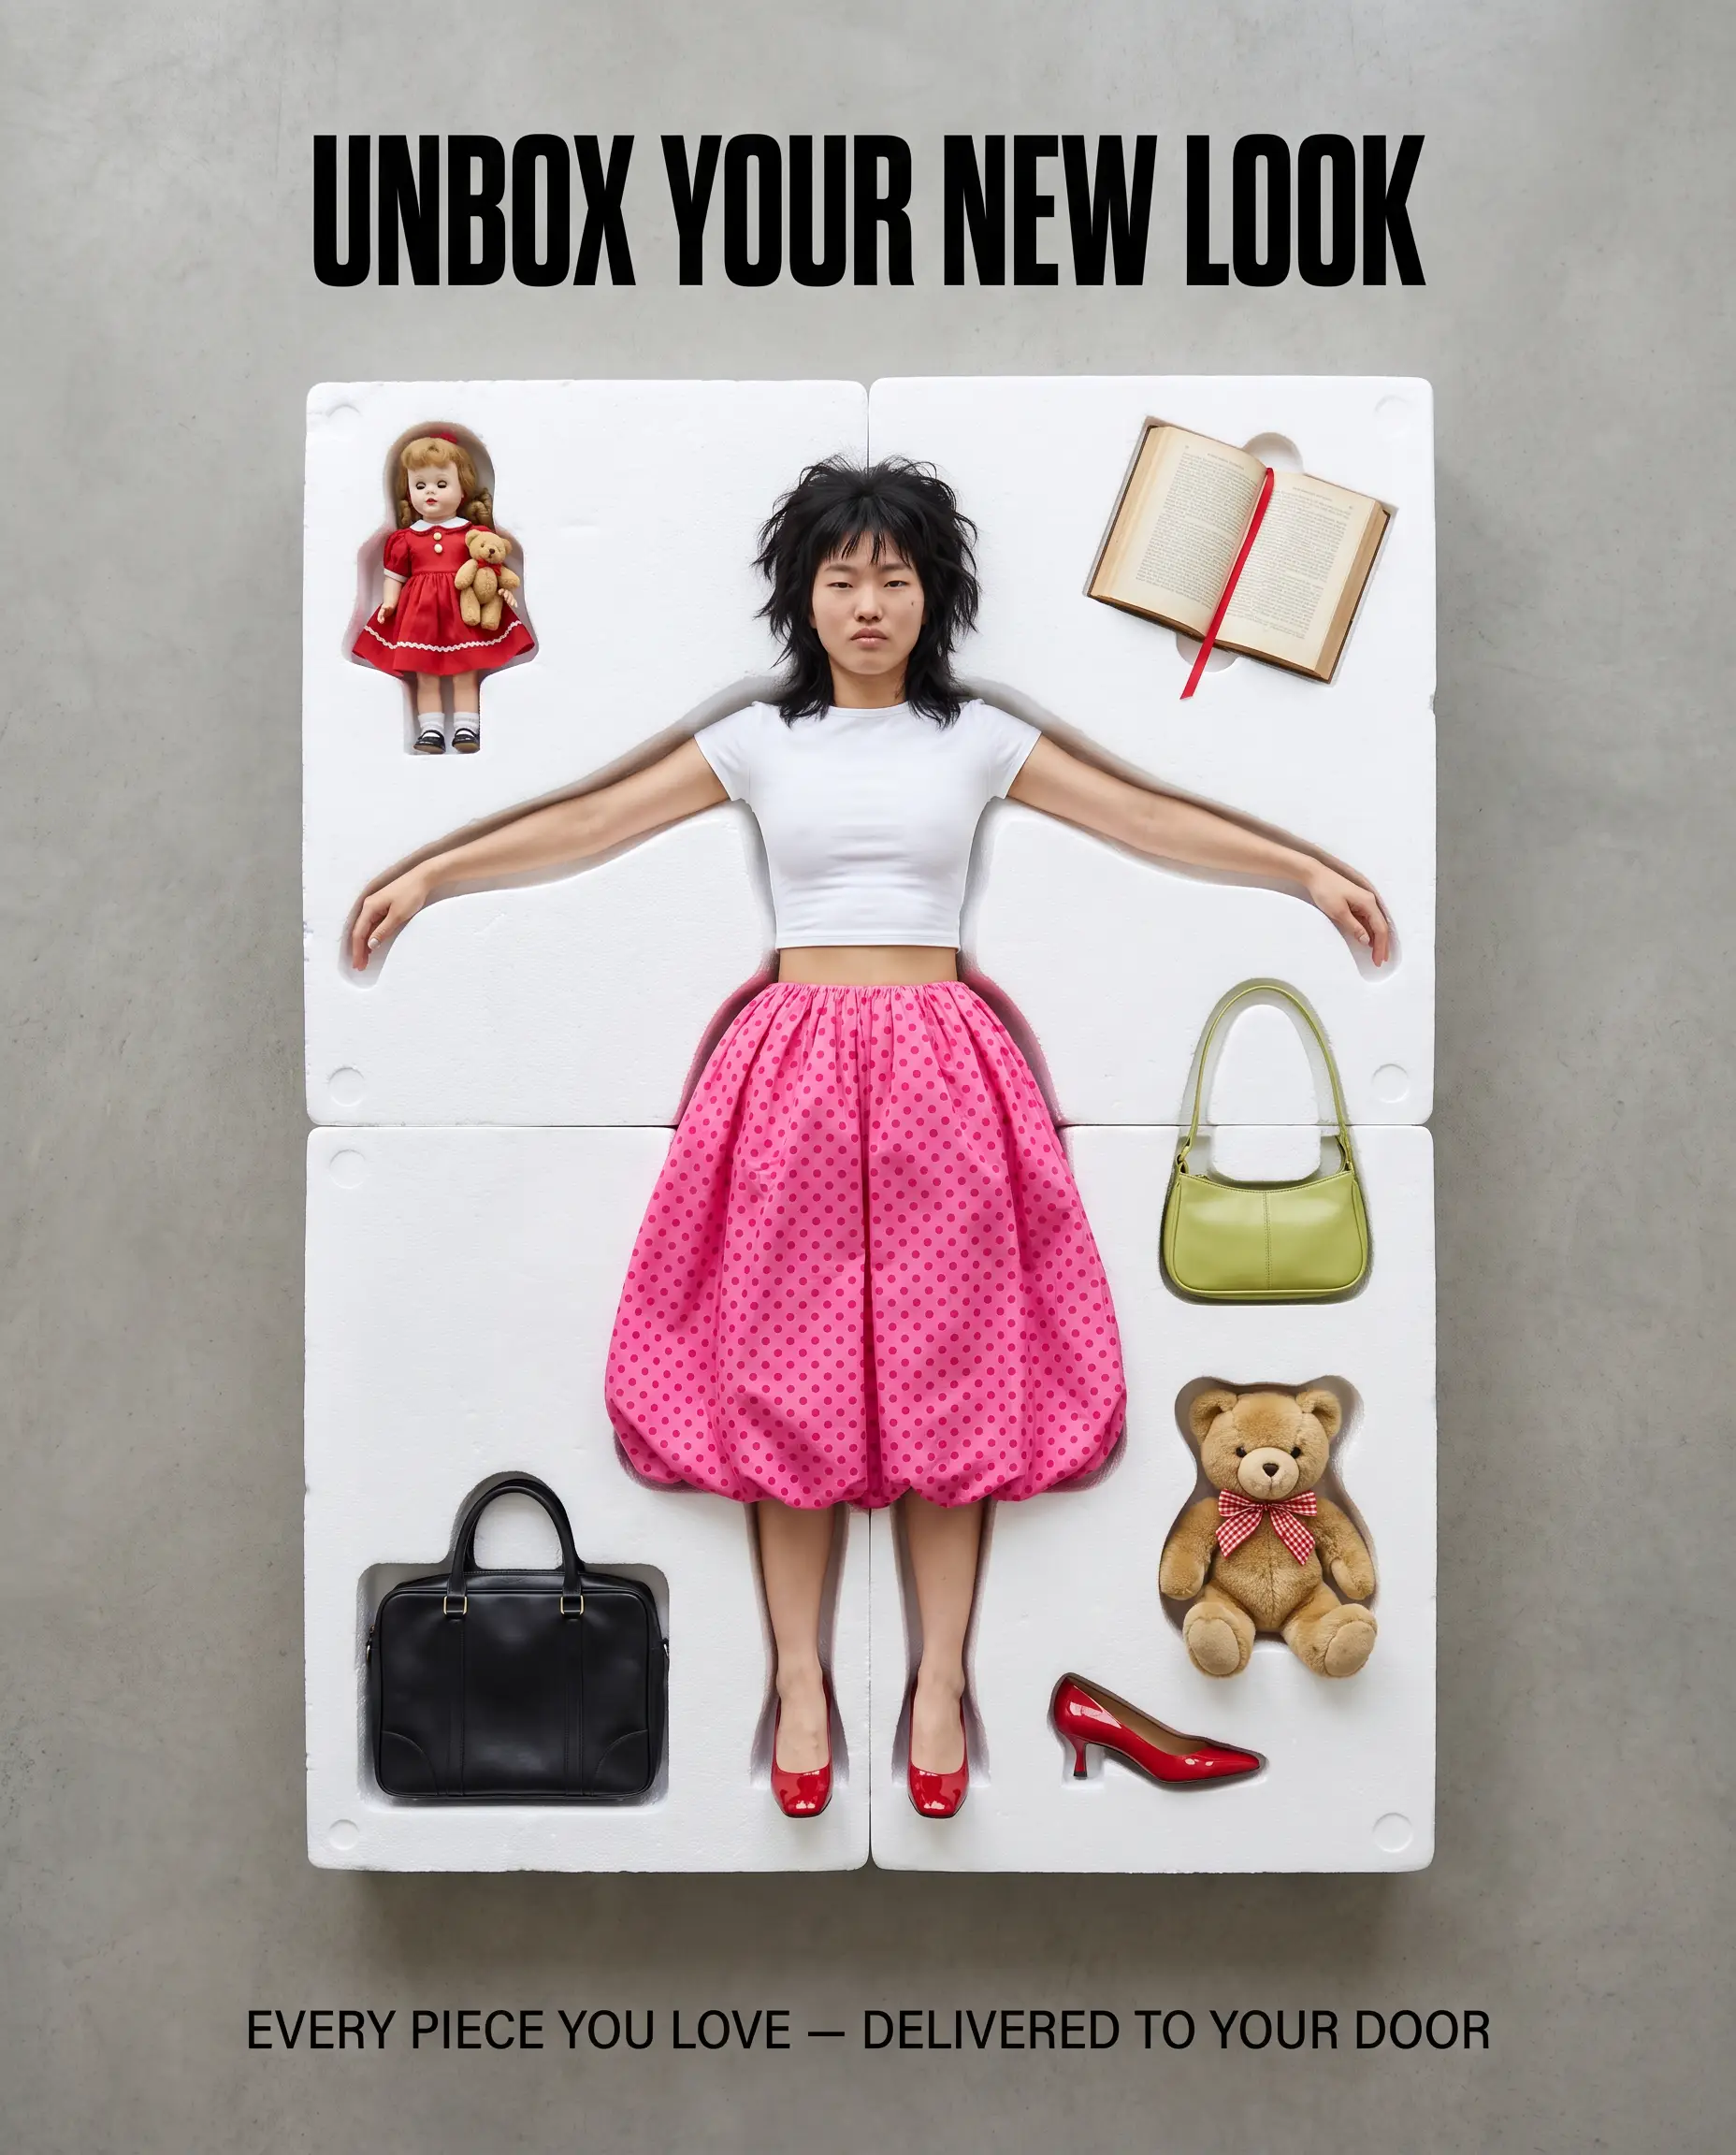
Next, choose from more than 2,000 ad references or upload your own. One reference can produce up to five variations. You decide whether the text, visual, audience, style, or composition changes. Alternatively, select up to ten references to create one image ad from each direction.
Choose a Post, Story, or Reel format. Then guide the setting, lighting, mood, background, and style through your prompt. For image ads, Brand DNA can apply enabled logos, colors, fonts, tone, and other brand elements. You can revise the visual through prompts, edit the copy, adjust your logo, and export the approved ad as a PNG or JPG.
When you are ready to test, Zeely’s automated ad creation workflow moves the creatives into Meta campaign setup. I recommend testing three to five creatives with both static and video formats. Its dashboard tracks spend, views, clicks, CTR, CPA, and individual ad performance. You can review the broader Zeely AI features before building your production flow.
FAQ
Product image editing AI changes existing product photos through instructions, presets, or detected objects. Unlike a general image generator, it starts with a photo of your real product and edits it, so the product customers see matches the one they receive.
Only partly. AI can sharpen edges, reduce compression artifacts, and upscale smaller files, but it cannot reliably restore details that were never captured. On very weak sources it may invent label text, logos, or textures. Reshooting is usually safer than rescuing a poor photo.
Start with the largest original file you have. Google Merchant Center recommends around 1500 × 1500 pixels or larger, and Shopify recommends 2048 × 2048 pixels for square product photos. Keep one high-resolution master and export smaller files for each channel from it.
Write a short preservation instruction for every batch, such as “Keep the bottle shape, label, logo, color, cap, and proportions unchanged,” then describe only the edit you want. Make risky changes in separate passes, and compare each output with the original at 100% zoom.